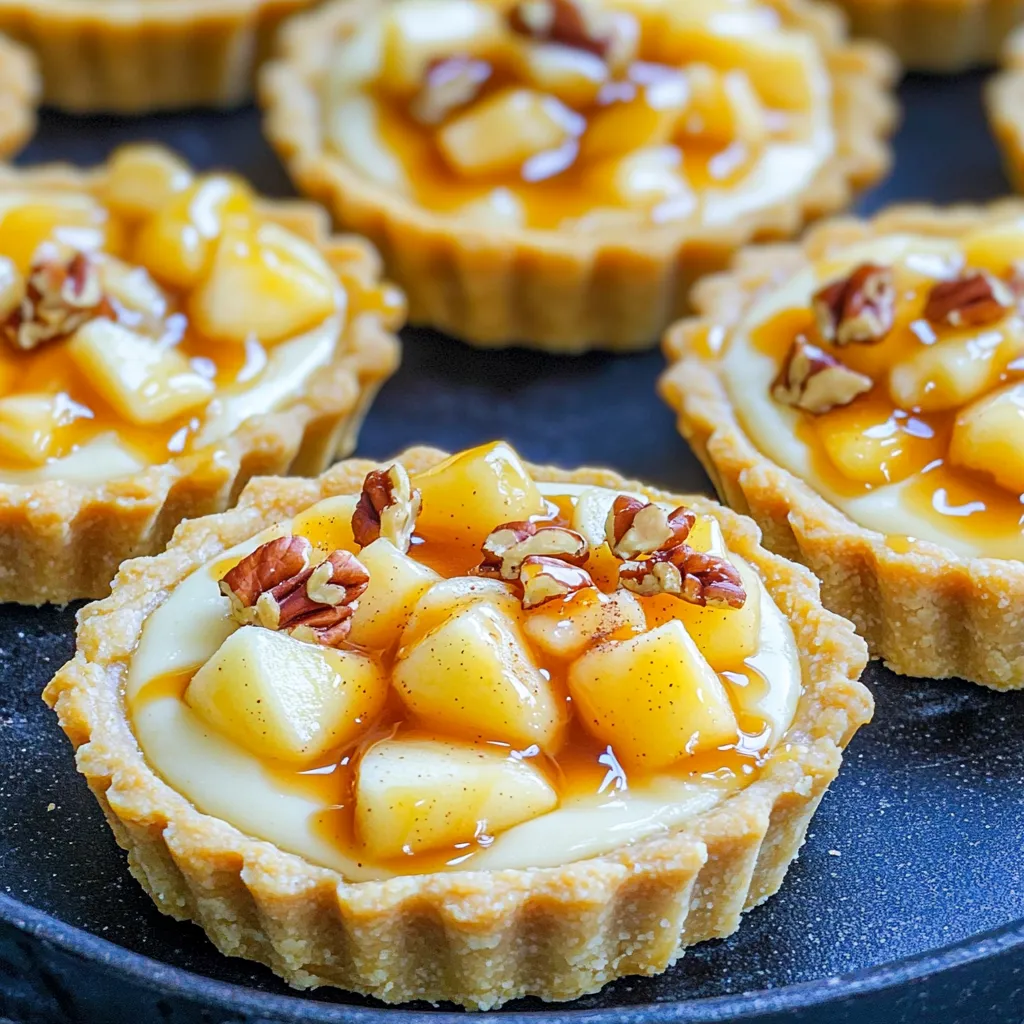
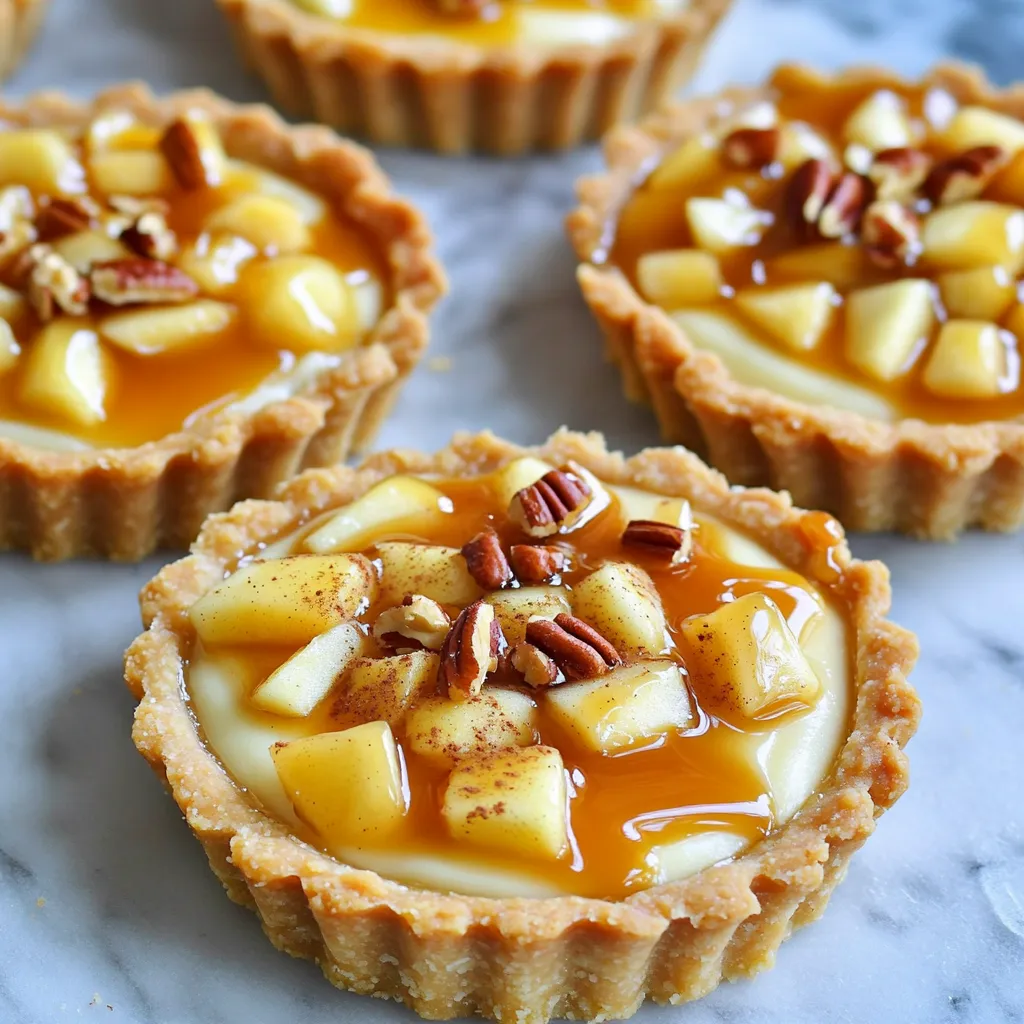
Indulge your sweet tooth with my Caramel Apple Cheesecake Tartlets! These bite-sized desserts combine the rich flavors of creamy cheesecake and fresh apples, topped off with a drizzle of gooey caramel. Perfect for fall gatherings or any occasion that calls for something special, they’re sure to impress. Join me as I walk you through this simple recipe that will have everyone reaching for seconds!
Ingredients
When making caramel apple cheesecake tartlets, gathering the right ingredients is key. Here’s what you need to create these tasty treats:
– 1 cup all-purpose flour
– 1/4 cup powdered sugar
– 1/2 cup unsalted butter, softened
– 1/4 teaspoon salt
– 2 oz cream cheese, softened
– 1/4 cup granulated sugar
– 1/2 teaspoon vanilla extract
– 1 medium apple (Granny Smith or Honeycrisp)
– 1/2 teaspoon ground cinnamon
– 1/4 cup caramel sauce
– Chopped pecans (optional garnish)
Each ingredient plays an important role. The all-purpose flour and powdered sugar form the crust. The butter makes it rich and flaky. Cream cheese lends a creamy texture to the filling, while sugar adds sweetness.
Choosing the right apple matters too. Granny Smith apples offer a nice tartness, balancing the sweet caramel. Honeycrisp apples are juicy and sweet, adding a lovely flavor.
I love a good drizzle of caramel on top. It adds a fun finish. Finally, chopped pecans add crunch, but they are optional. You can swap them for other nuts or leave them out.
Now that you know the ingredients, you’re ready to start creating your own caramel apple cheesecake tartlets!
Step-by-Step Instructions
Preparing the Crust
To start, mix the dry ingredients in a bowl. Combine 1 cup of all-purpose flour, 1/4 cup of powdered sugar, and 1/4 teaspoon of salt. This mix will give your crust a sweet and tender base. Next, add 1/2 cup of softened unsalted butter. Use your fingertips or a pastry cutter to blend until it looks like coarse crumbs. Finally, press this mixture firmly into tartlet pans. Make sure to cover the bottom and sides evenly.
Baking the Crust
Now, preheat your oven to 350°F (175°C). This step is key for a good bake. Once hot, place your crusts in the oven. Bake for 10 to 12 minutes. Watch for a light golden color around the edges. When done, take them out and let them cool completely on a wire rack. This cooling step ensures your tartlets hold their shape.
Making the Cheesecake Filling
In a clean bowl, beat 2 oz of softened cream cheese until smooth. It’s important to get rid of any lumps. Gradually add 1/4 cup of granulated sugar and 1/2 teaspoon of vanilla extract. Keep mixing until creamy. Now, gently fold in the diced apple and 1/2 teaspoon of ground cinnamon. Use a spatula to combine without mashing the apples.
Assembling the Tartlets
Now, it’s time to fill the cooled crusts. Spoon the cheesecake filling into each crust. Use the back of a spoon to smooth the tops. This makes for a nice finish. Make sure the filling is level in each tartlet.
Chilling and Adding Caramel
Chilling is important for the filling to set. Cover the filled tartlets with plastic wrap. Place them in the fridge for at least 30 minutes. After chilling, drizzle caramel sauce over each tartlet. Let it flow down the sides for a lovely look.
Garnishing and Serving
For an optional touch, sprinkle chopped pecans on top. They add a nice crunch. These tartlets can be served chilled or at room temperature. They are perfect for any occasion or as a sweet treat!
Tips & Tricks
Perfecting the Crust
To make a delicious crust, avoid common pitfalls. One common mistake is overworking the dough. Mix the flour, sugar, and salt gently. Aim for a crumbly texture. Press it firmly into the tartlet pan without compacting it too much.
Butter temperature is key. Use softened butter, not melted. Softened butter creates a tender crust. If it’s too cold, it won’t mix well. If it’s too warm, the crust could become greasy.
Cheesecake Filling Tips
For a smooth filling, beat the cream cheese until creamy. Gradually add sugar and vanilla while mixing. This helps avoid lumps.
Choose the right apple for flavor. Granny Smith or Honeycrisp works best. They add a nice tartness. Avoid overly sweet apples; they won’t balance the cheesecake well.
Storing and Serving Suggestions
You can serve these tartlets chilled or at room temperature. Chilling the tartlets helps the filling set nicely. At room temperature, the flavors become more pronounced.
For storage, keep leftovers in the fridge. Use an airtight container to maintain freshness. Enjoy them within three days for best taste.
Variations
Flavored Cheesecake Options
You can easily change the cheesecake flavor. Try adding spices like nutmeg or ginger. These spices bring warmth and depth to your tartlets. You can also explore alternative flavors like pumpkin or chocolate. Pumpkin gives a nice fall vibe, while chocolate makes it rich and sweet.
Different Garnishes
Garnishes can make your tartlets stand out. Use different nuts like walnuts or almonds for crunch. They add a lovely texture and flavor boost. You can also top your tartlets with whipped cream or a chocolate drizzle. This adds a fun and sweet touch to each bite.
Using Pre-Made Tartlets
If you’re short on time, store-bought tartlets work great. You can find them at most grocery stores. Look for mini tart shells in the bakery section. To enhance store-bought options, fill them with your cheesecake mix and add your favorite toppings. This makes them taste homemade and special.
Storage Info
Refrigeration Guidelines
To keep your caramel apple cheesecake tartlets fresh, store them in the fridge. Place them in an airtight container. This helps to prevent them from drying out or absorbing other smells. Enjoy the tartlets within three days for the best taste.
Freezing Instructions
You can freeze the tartlet crusts or the filled tartlets. To freeze the crusts, let them cool completely first. Wrap them tightly in plastic wrap. For filled tartlets, freeze them without the caramel sauce. This keeps them fresh longer. Thaw the filled tartlets in the fridge overnight before serving. Drizzle with caramel sauce just before enjoying.
Best Practices for Serving Leftovers
If you have leftover tartlets, you can serve them chilled or at room temperature. For reheating, place them in a preheated oven at 300°F for about 10 minutes. This warms them gently without making them soggy. To make them look nice, add a fresh drizzle of caramel sauce and sprinkle with pecans before serving. This adds a lovely touch!
FAQs
Can I make these tartlets ahead of time?
Yes, you can prepare these tartlets in advance. They taste great after chilling.
– Preparation timeline: Make the crust and filling a day before serving.
– Storage options: Keep the tartlets in the fridge, covered with plastic wrap.
What is the best apple for baking?
Granny Smith and Honeycrisp apples work best. They balance sweetness and tartness.
– Recommended varieties: Granny Smith has a crisp and tart flavor. Honeycrisp is sweet with a hint of tartness.
Can I use a different type of cheese?
You can use mascarpone or ricotta cheese. They offer unique flavors and textures.
– Substitutions for cream cheese: Mascarpone adds creaminess, while ricotta gives a lighter texture.
– Effects on flavor and texture: The taste changes, so choose based on your preference.
How do I make my tart crust flakier?
To achieve a flaky crust, keep your butter cold. Mix it gently to avoid overworking.
– Techniques for achieving a flaky crust: Use a pastry cutter and avoid your hands.
– Importance of temperature and mixing: Cold ingredients help create layers in the dough.
Can I use gluten-free flour?
Yes, you can use gluten-free all-purpose flour. It works well for this recipe.
– Recommendations for gluten-free options: Look for blends that include xanthan gum for better texture.
– Adjustments in baking times or ratios: You may need to bake a little longer, so keep an eye on them.
You now have all the steps to create delicious apple cheesecake tartlets. From mixing the crust to chilling the filling, each process builds great flavor. Remember, choosing the right apple and being careful with your ingredients is key to success. Feel free to explore variations and toppings that fit your taste. With these tips, you can enjoy and share delightful tartlets anytime. Happy baking!