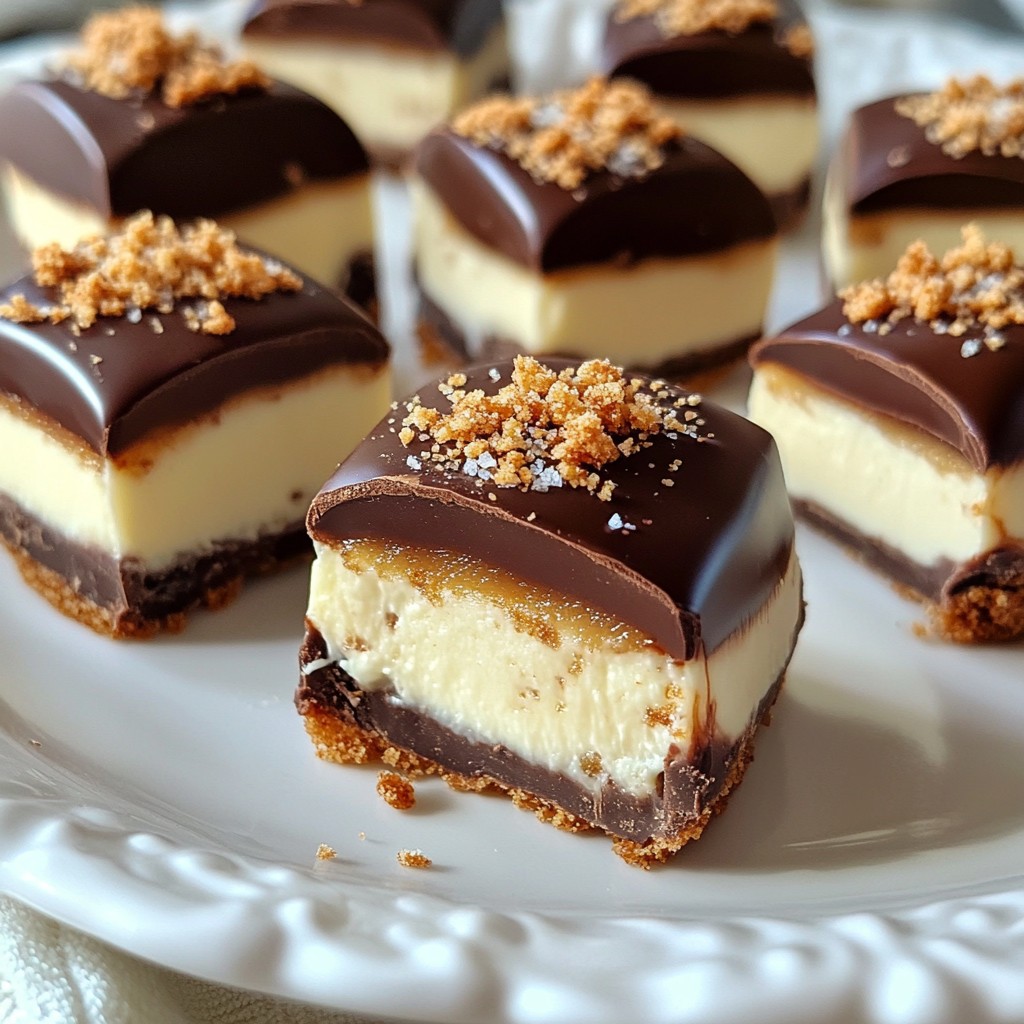
Are you ready to create a sweet treat that will impress everyone? These Chocolate Covered Cheesecake Bites are easy to make and packed with flavor. With just a few simple ingredients, you can turn your kitchen into a dessert paradise. Whether it's for a party or a cozy night in, these bites are sure to delight. Let’s dive into the recipe and learn how to whip up this tasty treat!
Why I Love This Recipe
- Decadent Flavor: The combination of cream cheese and chocolate creates a rich and indulgent taste that is irresistible.
- Easy to Make: With simple steps and minimal ingredients, these bites are quick to prepare, making them perfect for any occasion.
- Versatile Treat: You can customize the chocolate and toppings, allowing for endless variations to suit any palate.
- Perfect for Sharing: These bite-sized delights are ideal for gatherings, ensuring everyone can enjoy a sweet treat without overindulging.
Ingredients
Main Ingredients for Chocolate Covered Cheesecake Bites
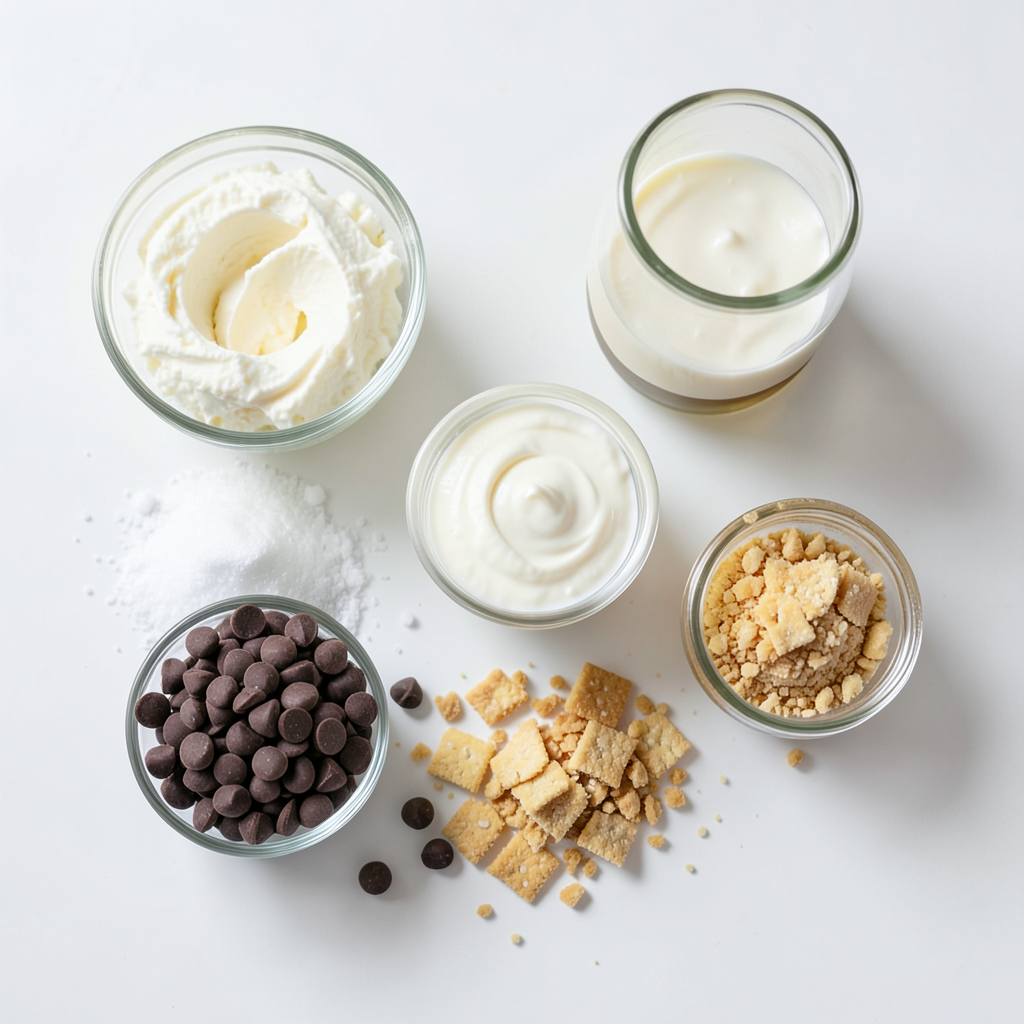
For these bites, you need a few key ingredients:
- 8 oz cream cheese, softened at room temperature
- 1/4 cup granulated sugar
- 1 teaspoon pure vanilla extract
- 1/2 cup heavy whipping cream
- 1 cup chocolate chips (dark or milk chocolate based on preference)
- 1 tablespoon coconut oil (can substitute with vegetable oil)
- 1/4 cup crushed graham crackers (for coating)
- A pinch of sea salt (optional for enhancement)
These main ingredients create a rich, creamy cheesecake center. The chocolate coating adds a sweet crunch.
Optional Ingredients for Enhanced Flavor
To really make these bites shine, consider these optional ingredients:
- A splash of lemon juice for a zesty kick
- Mini chocolate chips for added texture in the filling
- Different flavored extracts, like almond or peppermint, for unique twists
- Fresh fruit pieces, like raspberries or strawberries, for a fruity burst
These extras can take your cheesecake bites to another level.
Tips for Choosing Quality Ingredients
Choosing the right ingredients is key to great flavor. Here's what to keep in mind:
- Cream Cheese: Use full-fat cream cheese for a smooth texture. Avoid low-fat options, as they can be grainy.
- Chocolate Chips: Pick high-quality chocolate chips. They melt better and taste richer.
- Whipping Cream: Use heavy whipping cream for the best fluffiness.
- Graham Crackers: Choose plain graham crackers for a classic taste.
Quality ingredients make a big difference in your final treat. Happy cooking!
Step-by-Step Instructions
Preparation of the Cheesecake Mixture
Start by gathering your ingredients. You will need cream cheese, sugar, vanilla, and heavy cream. In a medium bowl, mix the cream cheese, sugar, and vanilla. Beat this with an electric mixer until smooth and creamy. Take your time to get rid of any lumps. In another bowl, pour the heavy cream. Whip it until you see stiff peaks. This makes the cream light and fluffy. Gently fold the whipped cream into the cream cheese mixture. Use a spatula and be careful not to deflate it. You want a velvety texture. Mix well until everything is combined.
Chilling and Forming the Bites
Now, prepare a baking sheet with parchment paper. Use a small cookie scoop or your hands to shape the cheesecake mixture into small balls. Aim for about one inch in size. Place these balls on the lined baking sheet. Once all the bites are formed, put the sheet in the freezer. Let them chill for at least one hour. This step firms them up and makes dipping easier.
Melting the Chocolate Coating and Dipping Bites
While your bites chill, it’s time to melt the chocolate. In a microwave-safe bowl, add the chocolate chips and coconut oil. Microwave them in 30-second intervals. Stir well after each interval until the chocolate is completely smooth. Now, take the cheesecake bites from the freezer. Using a fork, dip each bite into the melted chocolate. Make sure they are fully coated. Let any extra chocolate drip off before placing them back on the parchment paper. To finish, sprinkle crushed graham crackers on top. You can also add a pinch of sea salt for extra flavor. Once done, return the bites to the freezer for another 30 minutes to set the chocolate.
Tips & Tricks
How to Achieve the Best Texture
To get the best texture, use softened cream cheese. This makes it easy to mix. Beat the cream cheese, sugar, and vanilla well. You want a smooth and creamy mixture. When you whip the heavy cream, beat it until stiff peaks form. This adds lightness to the bites. Gently fold the whipped cream into the cream cheese. Be careful not to deflate it. This step is key for a fluffy texture.
Common Mistakes to Avoid
One common mistake is overmixing the cheesecake filling. Overmixing can make it dense. Another mistake is not chilling the bites long enough. If they are not firm, they will not hold their shape when dipped in chocolate. Avoid using chocolate that is not meant for melting. Using low-quality chocolate can lead to a clumpy coating. Also, don’t skip the coconut oil; it helps the chocolate to flow smoothly.
Presentation Tips for Serving
Serve your cheesecake bites on a nice plate. Arrange them in mini cupcake liners for a cute look. Drizzle extra melted chocolate over the bites for flair. You can also sprinkle more crushed graham crackers on top. This adds a nice crunch and color. For a fun touch, use colorful plates or platters. These bites are not just tasty; they should look great too!
Pro Tips
- Chill Thoroughly: Make sure to freeze the cheesecake bites long enough to ensure they hold their shape when dipped in chocolate.
- Quality Chocolate: Use high-quality chocolate for coating to enhance the overall flavor and texture of the bites.
- Custom Coatings: Experiment with different toppings like crushed nuts, sprinkles, or coconut flakes for a fun twist on flavor and appearance.
- Serving Temperature: Allow the cheesecake bites to sit at room temperature for a few minutes before serving for a creamier texture.
Variations
Flavorful Additions for Cheesecake Filling
You can make your cheesecake bites even better by adding flavors. Try mixing in some lemon zest for a fresh taste. You could also add a tablespoon of peanut butter for a nutty twist. How about some mini chocolate chips? They add fun bites of chocolate in every piece. For a fruity flavor, mix in pureed strawberries or raspberries. Just be sure not to add too much liquid!
Different Chocolate Options for Coating
While dark chocolate is a classic choice, don't be afraid to switch it up. Milk chocolate brings a creamy sweetness that many love. White chocolate offers a rich and sweet taste that pairs well with tangy cheesecake. For a fun twist, try using flavored chocolate, like mint or orange. You can also add some cocoa powder to the melted chocolate for a richer flavor.
Creative Topping Ideas
Toppings can take your cheesecake bites to another level. Crushed graham crackers add a nice crunch and nod to traditional cheesecake. You might sprinkle some sea salt for a sweet and salty contrast. Want something fruity? Top with fresh berries or a drizzle of fruit sauce. For an extra treat, add a sprinkle of toasted coconut or chopped nuts. Each topping gives you a new way to enjoy these bites!
Storage Info
Best Practices for Storing Cheesecake Bites
To store your chocolate-covered cheesecake bites, keep them in an airtight container. Use parchment paper between layers to prevent sticking. Place the container in the fridge if you plan to eat them within a week. For the best taste and texture, avoid leaving them out at room temperature for too long.
Freezing Tips for Long-Term Storage
If you want to keep your cheesecake bites longer, freezing is the way to go. First, freeze the bites on a baking sheet until they are firm. This prevents them from sticking together. Once frozen, transfer them to a freezer-safe bag or container. Label the bag with the date. They can last up to three months in the freezer.
How to Thaw and Serve Frozen Cheesecake Bites
To thaw frozen cheesecake bites, simply move them to the fridge for a few hours. This keeps them cold and tasty. If you’re in a hurry, you can leave them out at room temperature for about 20 minutes. Serve them chilled for the best flavor. Enjoy them as a sweet treat anytime!
FAQs
How long do chocolate covered cheesecake bites last?
Chocolate covered cheesecake bites can last up to one week in the fridge. Just keep them in an airtight container. If you freeze them, they can last for about three months. Just remember to separate layers with parchment paper to prevent sticking.
Can I use low-fat cream cheese for this recipe?
Yes, you can use low-fat cream cheese. The texture may be slightly different, but it will still taste great. Just make sure it's softened well. This will help it mix smoothly with the other ingredients.
What occasions are suitable for serving these bites?
These cheesecake bites are perfect for many occasions. Serve them at birthday parties, holiday gatherings, or game nights. They also make a great treat for a movie night or a casual get-together with friends. Everyone loves a sweet bite!
You now have all the tools to make delicious chocolate-covered cheesecake bites. We covered the main ingredients and optional add-ins for more flavor. I shared easy step-by-step instructions and tips to improve texture. You can try different flavor variations and learn about proper storage.
These bites will impress at any gathering. Enjoy making these tasty treats and share them with friends!