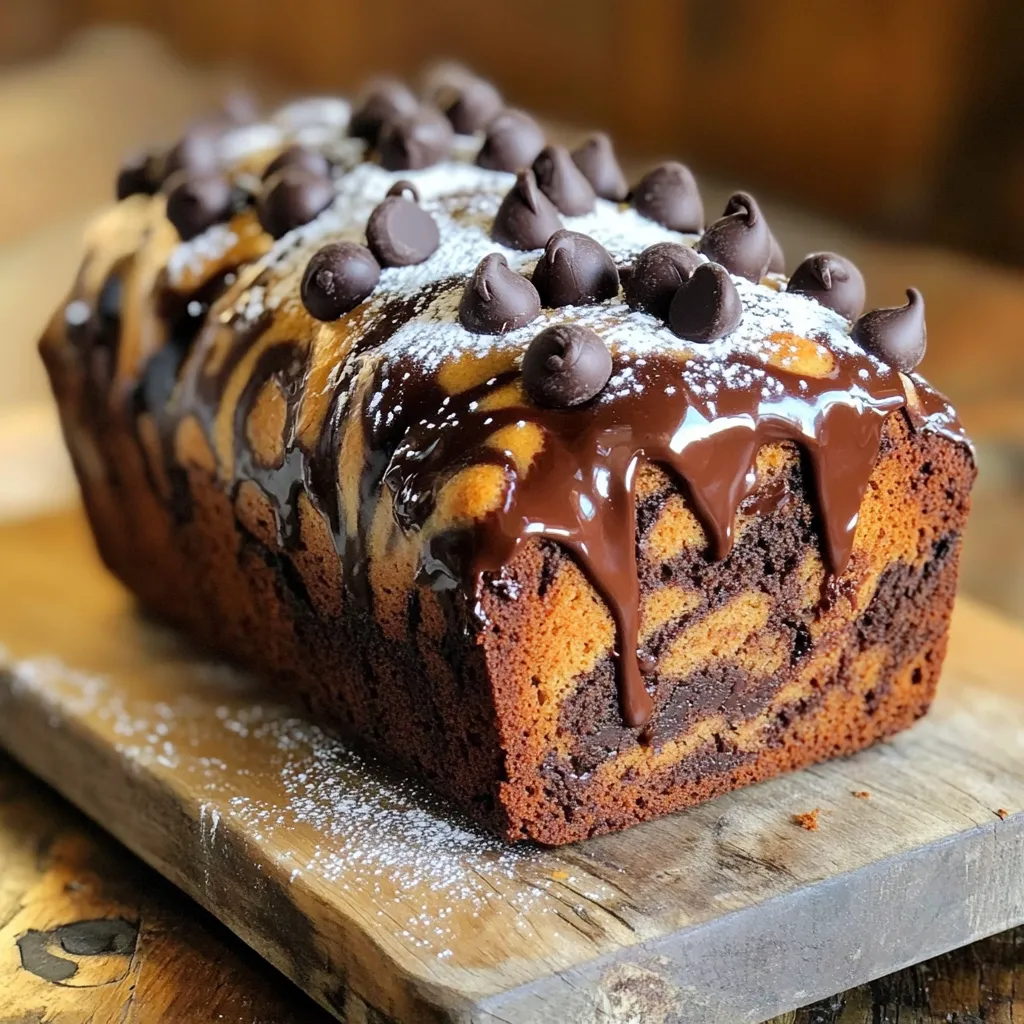
If you love the rich taste of chocolate and the sweetness of vanilla, you’re in for a treat! In this easy Chocolate Marble Loaf recipe, I’ll guide you step-by-step to create a beautiful loaf that looks as good as it tastes. Perfect for breakfast, dessert, or a snack, this recipe will be a hit with everyone. Let’s dive into the key ingredients and get started on this delightful journey to marble loaf perfection!
Ingredients
Complete List of Ingredients
To make a delicious chocolate marble loaf, you will need:
– 1 ½ cups all-purpose flour
– 1 teaspoon baking powder
– ½ teaspoon baking soda
– ¼ teaspoon salt
– ½ cup unsalted butter, softened
– 1 cup granulated sugar
– 2 large eggs, at room temperature
– 1 teaspoon pure vanilla extract
– ½ cup buttermilk, at room temperature
– ¼ cup unsweetened cocoa powder
– 1 tablespoon hot water
– ½ cup chocolate chips (optional)
Ingredient Substitutes
You can swap some ingredients if needed:
– Use coconut oil instead of butter for a dairy-free option.
– Applesauce can replace eggs for a vegan choice.
– If you lack buttermilk, mix milk with vinegar or lemon juice.
– Whole wheat flour can substitute all-purpose flour for a healthier loaf.
Tips for Selecting Fresh Ingredients
Choosing fresh ingredients is key for great taste:
– Select eggs that are clean and have smooth shells.
– Look for butter that feels firm and fresh.
– Check milk for expiration dates; it should smell fresh.
– When buying flour, ensure the package is sealed and intact.
– Pick cocoa powder that is dark and rich for better flavor.
Step-by-Step Instructions
Preparation Steps
First, you need to gather all your ingredients. This makes the process smooth and fun. Here’s what you’ll need:
– 1 ½ cups all-purpose flour
– 1 teaspoon baking powder
– ½ teaspoon baking soda
– ¼ teaspoon salt
– ½ cup unsalted butter, softened
– 1 cup granulated sugar
– 2 large eggs, at room temperature
– 1 teaspoon pure vanilla extract
– ½ cup buttermilk, at room temperature
– ¼ cup unsweetened cocoa powder
– 1 tablespoon hot water
– ½ cup chocolate chips (optional)
Start by preheating your oven to 350°F (175°C). Grease a loaf pan with butter or cooking spray. Line the bottom with parchment paper. This helps in easy removal later.
Next, take a medium bowl and whisk the flour, baking powder, baking soda, and salt. Set this dry mix aside for later use. In a large bowl, cream the softened butter and sugar using an electric mixer. Mix for about 3-4 minutes until it turns light and fluffy.
Now, add the eggs one at a time, mixing well each time. Stir in the vanilla extract. Gradually mix in the dry ingredients and buttermilk. Start and end with the dry mixture. Remember not to over-mix.
Baking Process
In a small bowl, mix the cocoa powder with hot water until smooth. Take half of the cake batter and fold it into the cocoa mix. This creates your chocolate batter.
To bake, pour half of the vanilla batter into your loaf pan. Spoon in the chocolate batter, then top with the rest of the vanilla batter.
Now, grab a knife or skewer. Gently swirl the batters to create a marble effect. Be careful not to mix them fully. If you want, sprinkle chocolate chips on top for extra delight.
Bake this in your preheated oven for 50-60 minutes. To check if it’s done, insert a toothpick in the center. It should come out clean or with a few crumbs, not wet batter.
Achieving the Marble Effect
The key to a beautiful marble effect lies in how you swirl the batters. Pour the batters in layers. This creates distinct areas of chocolate and vanilla. Use a gentle hand when swirling.
Do not overdo the mixing. You want to see swirls, not a uniform mix. The contrast between the two flavors makes the loaf exciting and visually appealing.
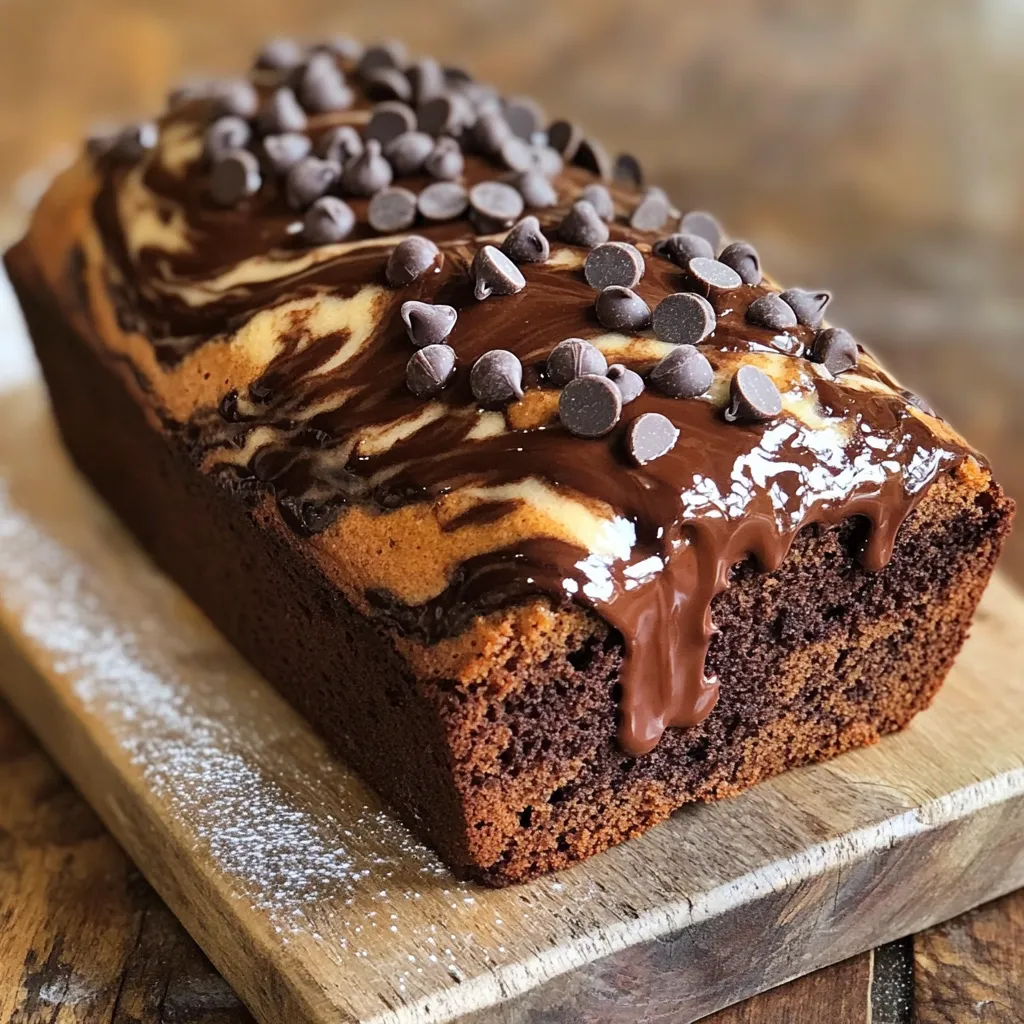
For an added touch, once the loaf cools, slice it and arrange it on a board. Drizzle with melted chocolate or dust with powdered sugar. This will make your chocolate marble loaf look as good as it tastes!
Tips & Tricks
Common Mistakes to Avoid
When making chocolate marble loaf, avoid over-mixing your batter. This can make the loaf tough. Always mix gently after adding the dry ingredients. Another common mistake is not measuring ingredients correctly. Use dry measuring cups for flour, and liquid measuring cups for buttermilk. Also, make sure your butter is softened. Cold butter won’t blend well, affecting the texture.
How to Ensure Moistness
To keep your loaf moist, use room temperature ingredients. Cold eggs and buttermilk can affect how well the batter mixes. Adding buttermilk is a great way to add moisture. If you want extra indulgence, sprinkle chocolate chips in the batter. This not only adds flavor but also helps keep your loaf moist.
Serving Suggestions and Presentation Ideas
For a beautiful presentation, slice the loaf and arrange the pieces on a rustic wooden board. Drizzle with melted chocolate for a rich touch. A light dusting of powdered sugar adds elegance and charm. You can also serve it with a scoop of vanilla ice cream or a dollop of whipped cream. Pair it with coffee or tea for a delightful afternoon treat.
Variations
Gluten-Free Chocolate Marble Loaf
You can make this loaf gluten-free. Use a gluten-free flour blend in place of all-purpose flour. Make sure it has xanthan gum for proper texture. The rest of the recipe stays the same. You’ll still enjoy the rich, chocolatey flavor.
Additional Flavor Additions (e.g., nuts, spices)
Want to add some crunch? Toss in ½ cup of chopped nuts, like walnuts or pecans. For a warm twist, try adding a teaspoon of cinnamon or a pinch of nutmeg. These spices enhance the chocolate and give your loaf a cozy flavor.
Mini Marble Loaf Breads
If you want bite-sized treats, use mini loaf pans. Divide the batter evenly among the pans, filling them about halfway. Bake for about 30-35 minutes. These mini loaves are perfect for sharing or gifting. Each slice will still have that lovely marbled look.
Storage Info
Best Practices for Storing Leftovers
To keep your Chocolate Marble Loaf fresh, wrap it well. Use plastic wrap or foil. Store it at room temperature for up to three days. If you live in a hot area, place it in the fridge. This helps prevent spoilage. Always slice it only when you’re ready to enjoy it. This keeps the loaf moist.
Freezing Options
You can freeze this loaf for later. First, let it cool completely. Wrap it tightly in plastic wrap, then in aluminum foil. This prevents freezer burn. Label it with the date. It can stay in the freezer for up to three months. When you’re ready to eat, move it to the fridge overnight. This will help it thaw slowly.
Reheating Instructions
To reheat your Chocolate Marble Loaf, slice it first. Preheat your oven to 350°F (175°C). Place the slices on a baking sheet. Heat for about 10-15 minutes. This warms the loaf without making it dry. You can also use a microwave. Heat one slice for about 15-20 seconds. Enjoy it warm for a delightful treat!
FAQs
Can I use a different type of pan?
Yes, you can use a different pan. A round cake pan or mini loaf pans will work. Just adjust the baking time. Keep an eye on them as they bake. Smaller pans might bake faster, while larger ones might take longer.
How do I make this recipe vegan?
To make this loaf vegan, swap the eggs with flax eggs. Mix 1 tablespoon of ground flaxseed with 2.5 tablespoons of water. Let it sit until it thickens. Use plant-based butter instead of regular butter. Substitute buttermilk with almond or soy milk mixed with a splash of vinegar.
What can I serve with Chocolate Marble Loaf?
Chocolate Marble Loaf pairs well with many treats. You can serve it with a scoop of vanilla ice cream. Fresh berries also add a nice touch. A drizzle of chocolate sauce can enhance the flavor further. For a drink, a cup of coffee or tea works great!
How long does Chocolate Marble Loaf stay fresh?
Chocolate Marble Loaf stays fresh for about 3-4 days at room temperature. Store it in an airtight container to keep it moist. You can also refrigerate it for up to a week. If you want to keep it longer, freeze it for up to three months. Just thaw it before serving.
This blog post covers how to make a perfect Chocolate Marble Loaf. We talked about choosing the right ingredients and their substitutes. Steps to prepare and bake your loaf were explained clearly. I shared tips on common mistakes to avoid and how to keep it moist. Don’t forget the variations, like gluten-free options or adding nuts. Lastly, storage tips ensure your leftovers stay fresh. Enjoy your baking journey, and make each loaf a tasty delight!