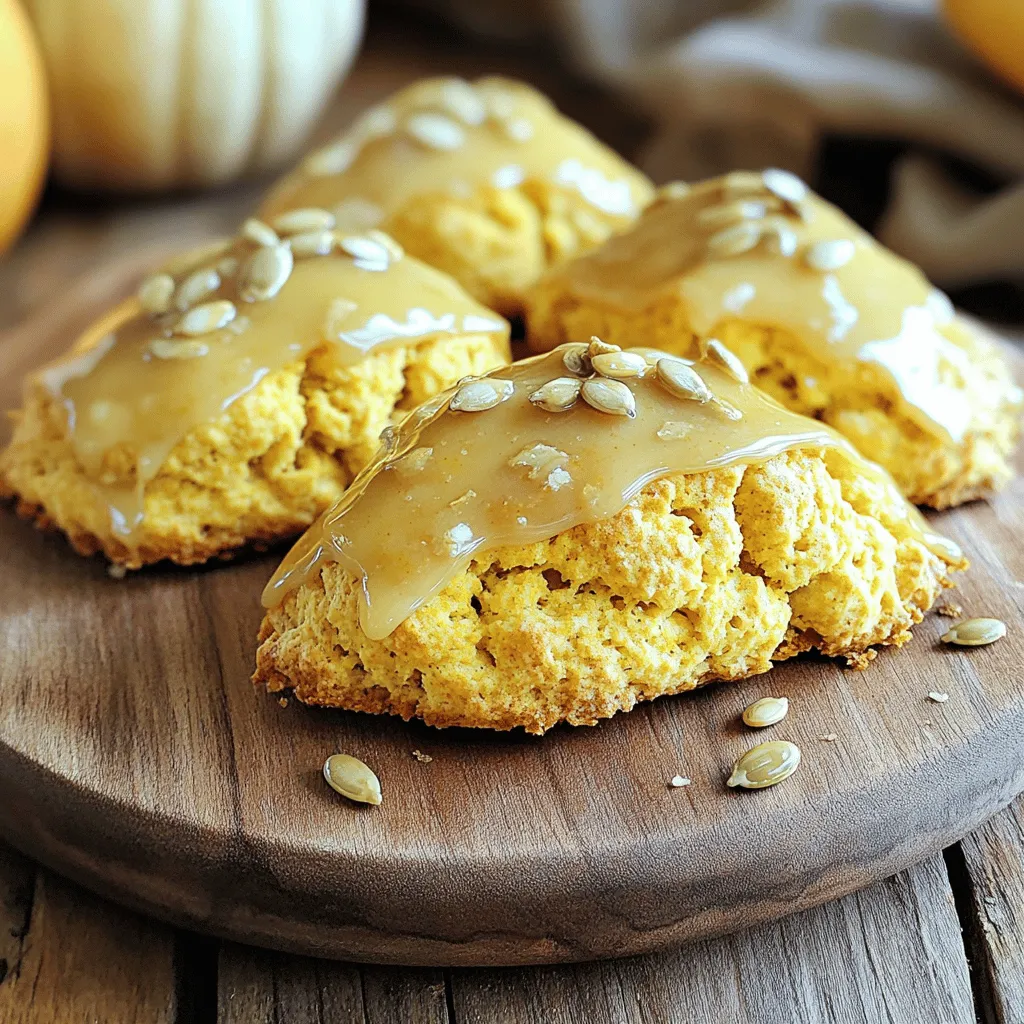
Fall is here, and it’s time to enjoy the cozy flavors of the season! Maple Glazed Pumpkin Scones are the perfect blend of sweet and spice, making them a delightful treat. In this post, I’ll share a simple recipe and provide tips for creating scones that everyone will love. Whether you want to impress guests or enjoy a snack with your tea, these scones will be a hit. Let’s get baking!
Ingredients
To make Maple Glazed Pumpkin Scones, you need the right mix of ingredients. Here’s what you’ll gather:
– 2 cups all-purpose flour
– 1/2 cup packed brown sugar
– 1 tablespoon baking powder
– 1/2 teaspoon baking soda
– 1/2 teaspoon ground cinnamon
– 1/4 teaspoon ground nutmeg
– 1/4 teaspoon ground ginger
– 1/2 teaspoon salt
– 1/2 cup unsalted butter, chilled and cut into cubes
– 1/2 cup pumpkin puree (fresh or canned)
– 1/4 cup milk
– 1 large egg
– 1 teaspoon vanilla extract
– 1/2 cup powdered sugar (for glaze)
– 2 tablespoons maple syrup (for glaze)
Each ingredient plays an important role in making these scones tasty and fluffy. The spices like cinnamon, nutmeg, and ginger add warmth and flavor, making you feel cozy. The pumpkin gives the scones moisture and a lovely color. Using chilled butter helps create a flaky texture, which is key for great scones.
Make sure to have all these ingredients ready before you start. This way, your baking process will go smoothly, and you’ll enjoy every step. Happy baking!
Step-by-Step Instructions
Preparing the Oven and Baking Sheet
– Preheat the oven to 400°F (200°C).
– Line the baking sheet with parchment paper.
Start by preheating your oven. This helps the scones bake evenly. Lining your baking sheet makes cleanup easy. It also helps the scones not stick.
Mixing and Incorporating Ingredients
– Whisking together the dry ingredients.
– Blending in the butter.
– Combining wet ingredients separately.
In a large bowl, whisk together the flour, brown sugar, baking powder, baking soda, cinnamon, nutmeg, ginger, and salt. Mix them well to spread the flavors. Next, add the chilled butter cubes. Use your fingers or a pastry cutter to blend until the mix looks crumbly. It should feel like coarse sand with small bits of butter.
In another bowl, mix the pumpkin puree, milk, egg, and vanilla extract. Stir until smooth. This mix will moisten the dry ingredients.
Forming and Baking the Scones
– Shaping the dough.
– Baking instructions and tips.
– Testing for doneness.
Transfer the dough to a floured surface. Pat it down to form a circle about 1 inch thick. Cut it into 8 wedges or use a biscuit cutter for round shapes. Place the scones on the baking sheet, spaced 2 inches apart.
Bake for 15 to 20 minutes until they are lightly golden. To check for doneness, insert a toothpick in the center. If it comes out clean, they are ready.
Tips & Tricks
Baking Tips
To achieve the perfect texture in your scones, focus on a few key steps. First, use cold butter. Chilled butter gives the scones a flaky crumb. Cut the butter into small cubes before mixing it into the flour. Next, do not overmix the dough. Gently combine the wet and dry ingredients until just mixed. It’s okay if some lumps remain. This keeps the scones light and airy.
The temperature of your ingredients matters too. Using cold milk and eggs helps create a nice rise. If possible, keep your wet ingredients in the fridge until ready. This small step can make a big difference in the final product.
Glazing Techniques
When preparing your maple glaze, ensure it is lump-free. Whisk the powdered sugar and maple syrup together slowly. Take your time to avoid clumps. If your glaze is too thick, add a tiny bit of milk to thin it out.
For a beautiful presentation, drizzle the glaze over the scones. Use a spoon or a small squeeze bottle for control. Start in the center and move outward. Let the glaze cascade down the sides for that inviting look.
Serving Suggestions
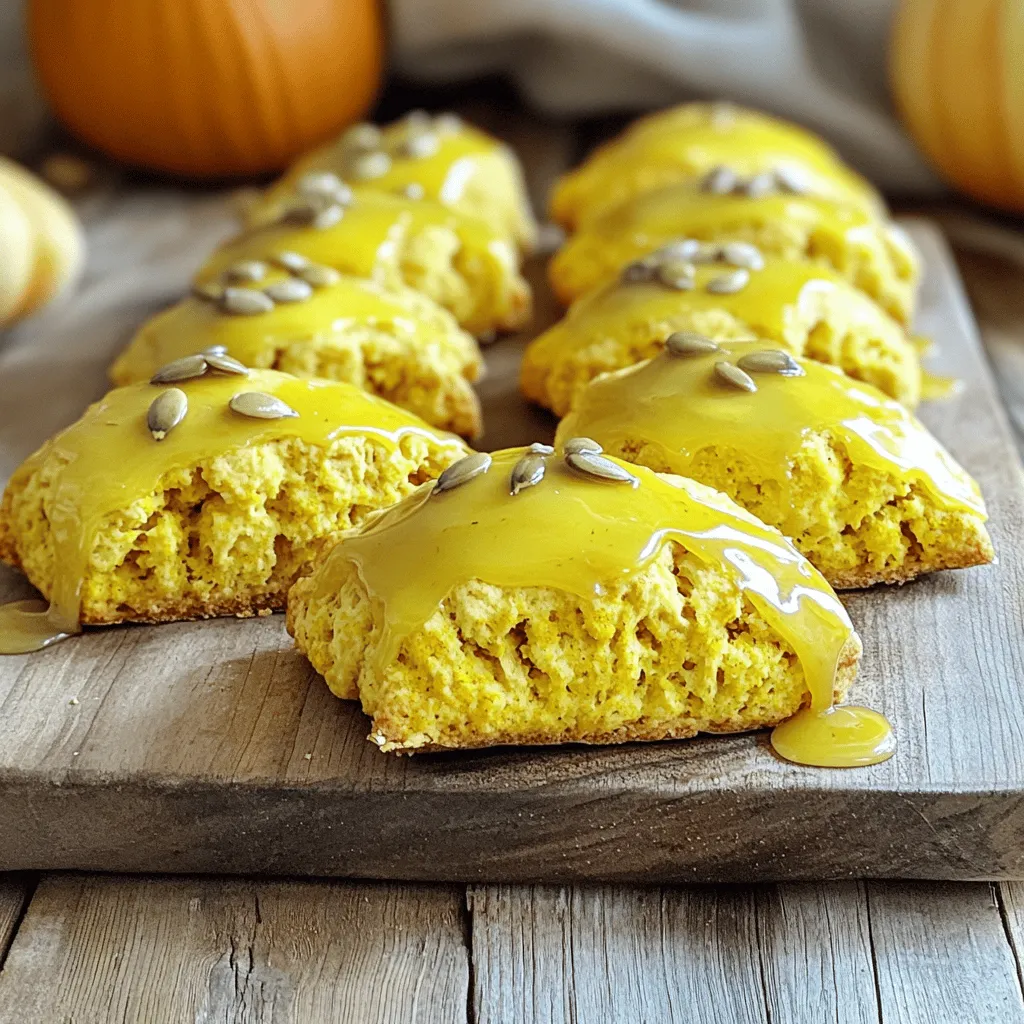
Serve your maple glazed pumpkin scones warm. They pair well with butter or cream cheese. A cup of hot tea or coffee makes the perfect drink. For a tea party, these scones shine. Arrange them on a rustic wooden board. Add a small jug of extra maple syrup for those who love more sweetness. Scatter some roasted pumpkin seeds around for texture and color. This adds charm and a festive feel to your gathering.
Variations
Flavor Additions
You can add fun twists to your Maple Glazed Pumpkin Scones. Incorporating chocolate chips or nuts gives them a new flair. The rich chocolate pairs well with pumpkin. Nuts like pecans or walnuts add crunch and flavor.
Adding dried fruits like cranberries or raisins also works well. These fruits bring a sweet tartness that balances the pumpkin. Try mixing in a half cup of your favorite dried fruit. This small change makes a big difference!
Gluten-Free Alternatives
If you need a gluten-free option, don’t worry! You can use gluten-free flour like almond or coconut flour. Just swap it in for the all-purpose flour. Your scones will still be tasty and soft.
Make sure to check the baking powder for gluten-free labels. This small step helps you adapt the recipe for your dietary needs. You can enjoy these scones without worry!
Seasonal Twists
You can make seasonal twists to your scones too! Adding fall-inspired herbs like rosemary or thyme can give a savory note. Just a pinch can elevate the flavor.
For holiday variations, think about adding spices like allspice or cardamom. These spices add warmth and depth. You can create a unique twist that fits the season perfectly!
Storage Info
How to Store Scones
To keep your scones fresh, store them in an airtight container. This helps seal in moisture and flavor. You can keep them at room temperature for up to two days. If you want them to last longer, consider refrigerating them. Just remember that refrigeration can change the texture slightly, making them a bit denser.
Freezing Instructions
You can freeze both unbaked and baked scones. To freeze unbaked scones, shape the dough and place them on a baking sheet. Freeze them until solid, then transfer to a freezer bag. For baked scones, let them cool completely before wrapping them tightly in plastic wrap. Store them in a freezer bag to protect against freezer burn.
When it’s time to enjoy your frozen scones, reheat them directly from the freezer. Bake unbaked scones at 400°F for an extra five minutes. For baked scones, heat at 350°F for about 10 minutes. This will help restore their fresh-baked texture. Enjoy the warm, cozy flavors!
FAQs
How can I make scones ahead of time?
You can prepare the dough a day in advance. Mix the dry and wet ingredients. Then, shape the dough into a circle and wrap it tightly in plastic wrap. Keep it in the fridge until you’re ready to bake. When you’re ready, simply cut and bake the scones. This saves time and makes your morning easier.
Can I substitute pumpkin puree with something else?
Yes! You can use mashed sweet potatoes or butternut squash. Both options work well and add a unique taste. Make sure to use the same amount as pumpkin puree. This keeps the moisture level right.
What are the signs that the scones are overmixed?
If you see a smooth and wet dough, you may have overmixed. Scones should be slightly lumpy and crumbly. If the dough is too smooth, they will not be fluffy. Remember, less mixing is key for perfect scones.
Are these scones suitable for freezing?
Absolutely! You can freeze both unbaked and baked scones. For unbaked, shape them and place them on a baking sheet. Freeze until firm, then transfer to a bag. For baked scones, cool them first. Then wrap them well and freeze. They last for about three months.
Can I use other types of flour for this recipe?
Yes, you can use whole wheat flour or gluten-free flour. Keep in mind that whole wheat flour may make the scones denser. If using gluten-free flour, look for a blend that works well for baking. Adjusting the liquid may be needed for the best texture.
You now have the tools to make delicious pumpkin scones. We covered all the key steps, from choosing the right ingredients to baking tips and storage options. Remember, the secret to great scones lies in the texture and timing. Don’t shy away from adding your favorite flavors or twists. Whether you’re hosting a tea party or enjoying a quiet afternoon, these scones will impress. Baking is a fun way to share joy and creativity. Start experimenting today and enjoy your tasty creations!