Are you craving a quick and easy dessert? The Mint Oreo Icebox Cake is your answer! This delightful no-bake recipe is perfect for beginners and busy cooks alike. With just a few simple ingredients, you can whip up a cool treat that’s rich, minty, and utterly satisfying. Join me as we dive into this fun recipe, and let’s make dessert time your favorite part of the day!
Why I Love This Recipe
- Refreshing Flavor: This Mint Oreo Icebox Cake combines the coolness of mint with the rich chocolatey taste of Oreos, making it a perfect dessert for warm days.
- No-Bake Convenience: Since this cake requires no baking, it saves time and effort, allowing you to whip it up quickly and easily.
- Layered Delight: The combination of creamy filling and crunchy cookies creates a delightful texture that keeps every bite interesting.
- Perfect for Gatherings: This dessert serves a crowd, making it an ideal choice for parties, family gatherings, or potlucks.
Ingredients
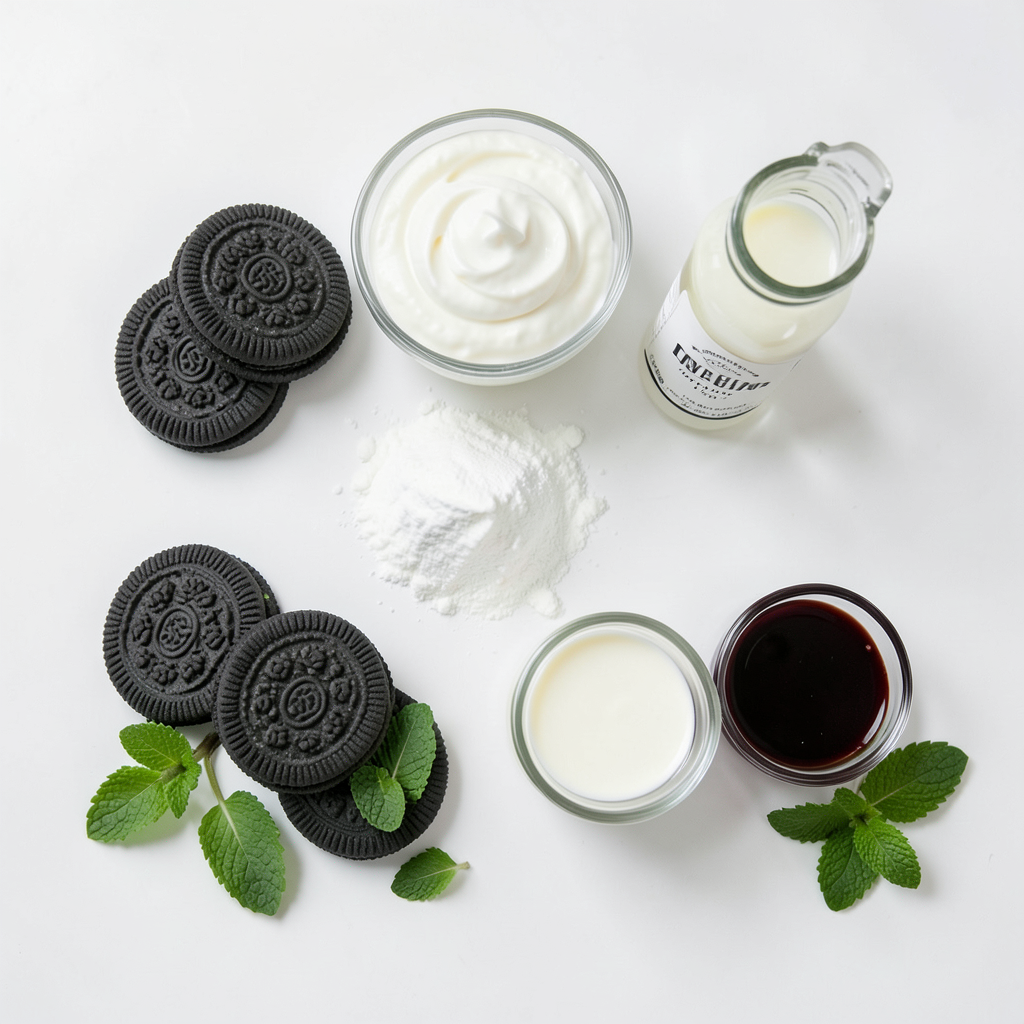
Here are the simple ingredients you need for the Mint Oreo Icebox Cake:
- 1 package of Mint Oreo cookies
- 2 cups heavy whipping cream
- 1/2 cup powdered sugar
- 1 teaspoon vanilla extract
- 8 oz cream cheese, softened at room temperature
- 1/4 cup milk
- 1/2 cup chocolate syrup
- Fresh mint leaves for garnish (optional)
These ingredients make a tasty and easy dessert. The Mint Oreo cookies bring a nice minty crunch. The heavy cream and cream cheese create a smooth, rich filling. Using powdered sugar helps sweeten the cream without being too grainy. The chocolate syrup adds a fun touch on top, and if you like, fresh mint leaves add color and flair. Each item plays a key role in making this cake cool and creamy. You can find these items at any grocery store. Grab them, and let's start baking!
Step-by-Step Instructions
Preparing the Whipped Cream
To start, grab a large bowl. Pour in the heavy whipping cream. Using an electric mixer, beat the cream on high speed. Watch for soft peaks to form. This takes about 2 to 3 minutes. Next, add the powdered sugar and vanilla extract. Keep mixing until stiff peaks appear. This means it holds its shape well. Set the whipped cream aside gently.
Making the Cream Cheese Mixture
In another bowl, take your softened cream cheese. Pour in the milk. Use a hand mixer or whisk to blend. You want it smooth and creamy, without lumps. This step is key for a great texture. Once smooth, gently fold in the whipped cream. Use a spatula and combine until it’s light and airy.
Assembling the Mint Oreo Icebox Cake
Now it’s time to layer. Quickly dip each Mint Oreo into the milk. Keep it in the milk for about 2 seconds. This makes the cookie moist but not soggy. Place the dipped cookies in a single layer in your baking dish. Spread a layer of the cream mixture over the cookies. Use a spatula to smooth it out. Repeat this process: more dipped cookies and more cream mixture. Keep going until you run out of Oreos or reach your desired height. The last layer should be the cream mixture. Drizzle chocolate syrup on top for a sweet finish. Optionally, add fresh mint leaves for a pretty touch. Cover the dish with plastic wrap and put it in the fridge. Chill for at least 4 hours, or overnight if you can wait. This helps the flavors mix and the cake to set. When ready, slice into squares and serve cold. Enjoy this fun treat!
Tips & Tricks
Perfecting Whipped Cream
To make the best whipped cream, start with cold tools. Use a large bowl and beaters. Cold tools help the cream whip up faster. Beat the heavy whipping cream on high speed. Watch for soft peaks to form first. Then, add the powdered sugar slowly. Mix in the vanilla extract next. Keep beating until you see stiff peaks. This means your whipped cream is ready. The cream should look thick and fluffy. Gently fold it into the cream cheese mixture without losing air. This helps keep your cake light.
Avoiding Soggy Cookies
Soggy cookies ruin the texture of your cake. Dip each Mint Oreo in milk for only 2 seconds. This gives them just enough moisture. If you leave them too long, they will be mushy. Arrange the dipped cookies quickly in a single layer. Don’t let them sit in the milk. This keeps them crispy while soaking up flavors in the fridge.
Layering Techniques for Best Texture
Layering is key to a great Mint Oreo Icebox Cake. Start with a cookie layer, then a cream layer. Use a spatula to spread the cream evenly. Repeat this until you run out of cookies or reach your desired height. Finish with a layer of cream on top. This creates a beautiful look and keeps the structure. Drizzle chocolate syrup on top for extra flair. If you want, add fresh mint leaves for a nice touch. These steps will give you a cake that looks as good as it tastes!
Pro Tips
- Choose the Right Cookies: Using Mint Oreos is essential for the flavor; however, you can mix in regular Oreos for added texture if desired.
- Perfect Whipped Cream: Ensure your mixing bowl and beaters are chilled before whipping the cream for better volume and stability.
- Layering Technique: Dip the Oreos quickly—too long in the milk can make them fall apart. Aim for a quick dip to keep them intact.
- Chilling Time: For the best flavor and texture, allow the cake to chill overnight. This gives the layers time to set and meld together perfectly.
Variations
Using Different Oreo Flavors
You can switch up the flavor of your Mint Oreo Icebox Cake by using different Oreo cookies. Try using peanut butter Oreos for a rich taste. Vanilla Oreos work great for a lighter, classic flavor. You can even experiment with seasonal flavors like pumpkin spice or red velvet. Each type of Oreo adds a unique twist to your cake. Just keep the base recipe the same, and you’ll have a new treat to enjoy!
Adding Extra Ingredients
Adding extra ingredients can make your cake even more fun. You might try mixing in crushed candy canes for extra minty flavor. Chopped nuts can add a nice crunch, too. For a chocolate boost, add some mini chocolate chips to the cream mixture. If you want a fruit twist, consider folding in some crushed raspberries or strawberries. These additions can enhance the flavor and texture to match your taste!
Creating a Gluten-Free Version
To make a gluten-free version of this cake, use gluten-free Oreos. They taste just as good and keep the same fun texture. You can also check that the cream cheese and any other added ingredients are gluten-free. Follow the same steps in the recipe to assemble your cake. You’ll have a delicious dessert that everyone can enjoy, no matter their dietary needs!
Storage Info
How to Properly Store Leftovers
To keep your Mint Oreo Icebox Cake fresh, cover it tightly with plastic wrap. Store it in the fridge. This helps keep the cake moist and tasty. You can store it for up to 3 days. If you notice any changes in smell or texture, it’s best to throw it away.
Freezing Instructions
You can freeze your Mint Oreo Icebox Cake too! First, make sure it’s fully chilled. Then, cut it into squares. Wrap each square in plastic wrap, then place them in a freezer-safe bag. This way, you can enjoy a slice later. It will keep well for up to 2 months in the freezer. When you’re ready to eat it, thaw it overnight in the fridge.
Best Practices for Serving Later
Serving the cake cold enhances its flavor and texture. After chilling, slice it into squares for easy serving. If you want to wow your guests, drizzle extra chocolate syrup on each slice. You can also add fresh mint leaves for a nice touch. Remember to keep any leftovers covered in the fridge to maintain their freshness!
FAQs
How long can the Mint Oreo Icebox Cake be refrigerated?
You can refrigerate the Mint Oreo Icebox Cake for up to 3 days. The flavors improve as it chills. I recommend covering it tightly with plastic wrap. This helps keep it fresh. After 3 days, it may lose some taste and texture. For the best experience, enjoy it within this time frame.
Can I use low-fat cream cheese?
Yes, you can use low-fat cream cheese in this recipe. Low-fat cream cheese will still give you a creamy filling. However, it might change the texture slightly. The cake may be a bit less rich. If you want a lighter option, this swap works well. Just make sure to blend it until smooth.
What can I substitute for heavy whipping cream?
If you need a substitute for heavy whipping cream, you can use coconut cream. It provides a similar texture and richness. Another option is to mix milk with a bit of melted butter. Use 3/4 cup of milk and 1/4 cup of melted butter for 1 cup of heavy cream. This swap keeps the dessert creamy.
To wrap up, we discussed how to make a tasty Mint Oreo Icebox Cake. We covered the key ingredients, step-by-step instructions, and helpful tips to ensure success. Remember, you can switch up the flavors or make it gluten-free. Store your leftovers properly to enjoy later. This dessert is perfect for any occasion. I hope you try this recipe and enjoy it as much as I do. Happy baking!