


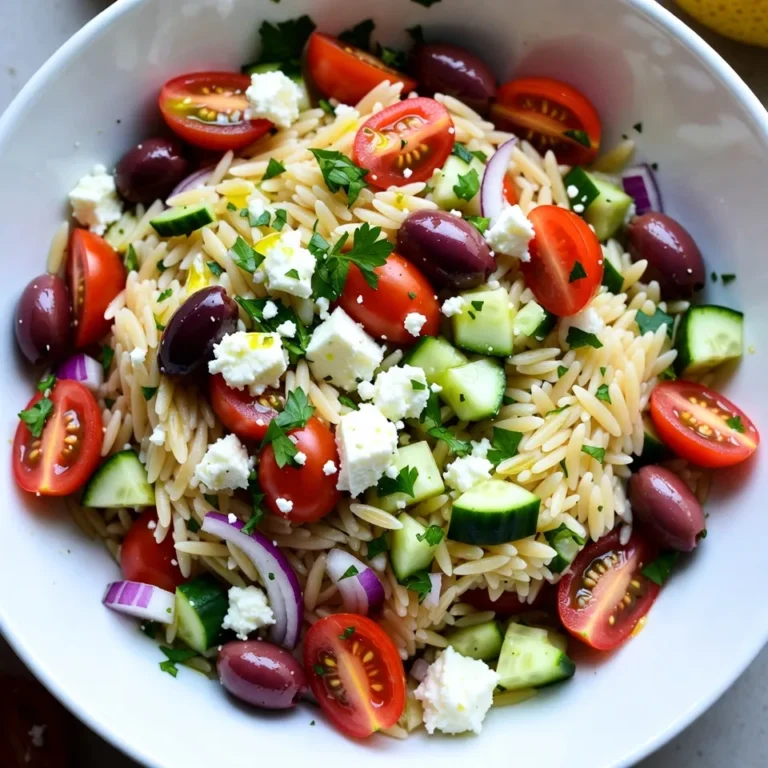

LATEST RECIPES


LET'S GET COOKING!
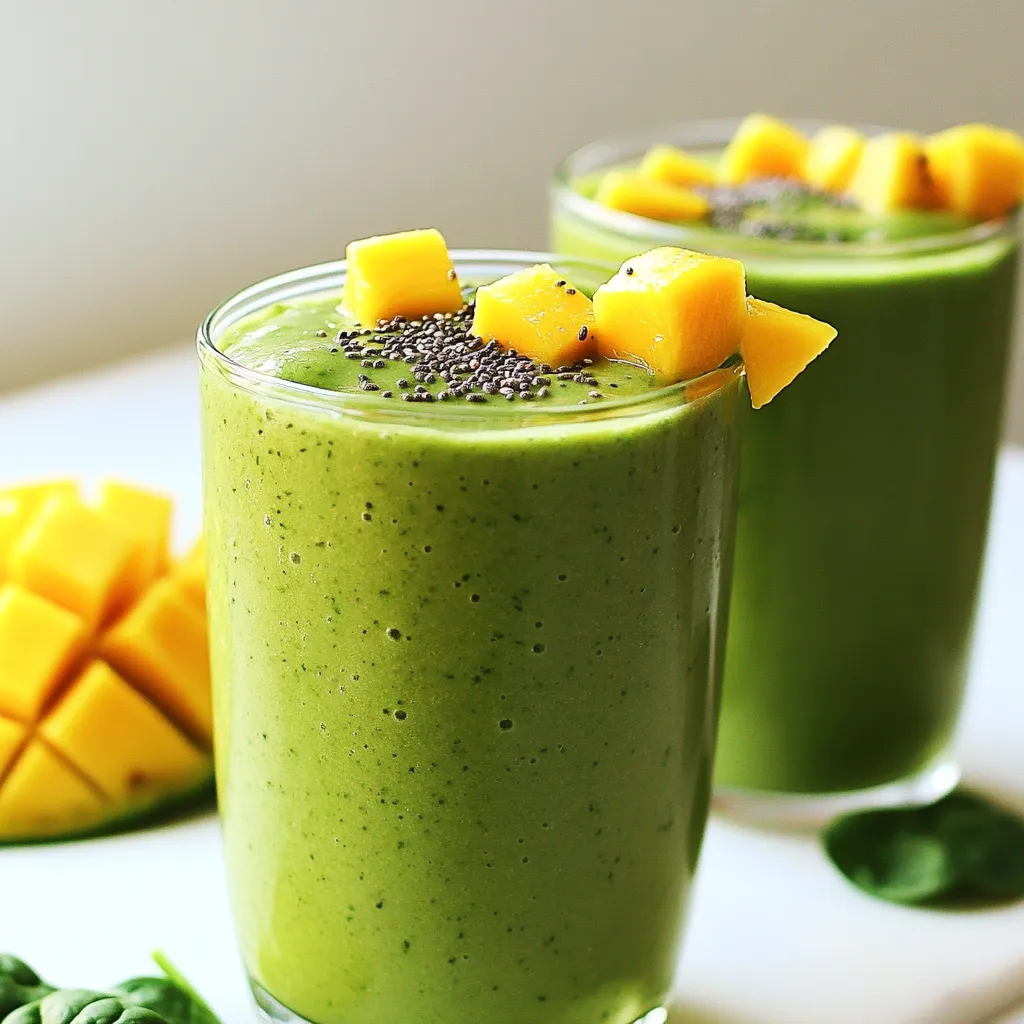
Tropical Green Smoothie Refreshing and Healthy Recipe
Craving a refreshing boost? Let me introduce you to the Tropical Green Smoothie! This vibrant drink not only tastes amazing but packs a punch of...
Read Full Recipe →