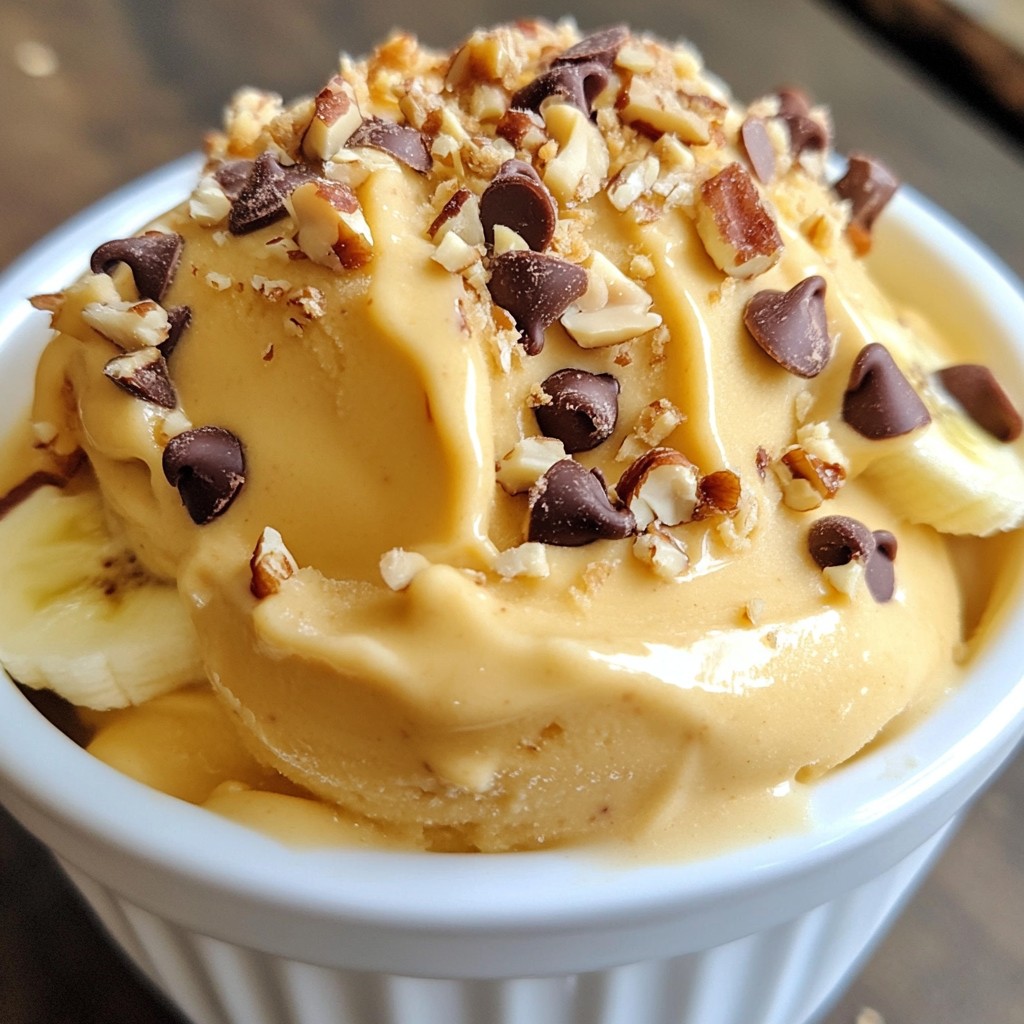
Are you ready to treat yourself to a sweet delight? This Peanut Butter Banana Ice Cream is both creamy and rich, making it the perfect snack or dessert. With just a few simple ingredients, you can whip up a frozen treat that satisfies your cravings. I’ll guide you through each step, sharing tips and tricks along the way. Let’s dive in and create this delicious ice cream together!
Why I Love This Recipe
- Deliciously Creamy: This recipe results in a smooth, creamy texture that is incredibly satisfying, making it a perfect frozen treat for any time of the year.
- Nutritious Ingredients: Packed with the goodness of bananas and natural peanut butter, this dessert is not only tasty but also provides essential nutrients and energy.
- Customizable Sweetness: You have the flexibility to adjust the sweetness according to your taste by adding honey or maple syrup, allowing everyone to enjoy it just the way they like.
- Easy to Make: With just a few simple steps, this recipe is quick and hassle-free, making it an ideal choice for both novice and experienced cooks.
Ingredients
List of Ingredients
To make creamy peanut butter banana ice cream, you need the following items:
- 4 ripe bananas, sliced and frozen
- 1/2 cup natural peanut butter
- 1 tablespoon honey or maple syrup (optional, for added sweetness)
- 1 teaspoon vanilla extract
- 1/4 cup almond milk (or any milk of your choice)
- A pinch of sea salt
These ingredients create a smooth and creamy texture. The bananas give natural sweetness, while peanut butter adds richness.
Optional Additions for Sweetness
You can add honey or maple syrup for extra sweetness. This step is not required, but it enhances the flavor. You can adjust the amount to your taste. Start with one tablespoon and blend. Taste it and add more if you want. This way, you control the sweetness level.
Recommended Toppings
Toppings add fun and texture to your ice cream. Here are some ideas:
- Chopped nuts for crunch
- Chocolate chips for a sweet touch
- Fresh fruit like berries or sliced bananas
These toppings make your dessert look nice and add flavor. You can mix and match to find your perfect combination. Enjoy!
Step-by-Step Instructions
Prepping the Bananas
Start with ripe bananas. Peel them and slice them into coins. Make sure the slices are even. Place the banana slices on a baking sheet. Spread them out in a single layer. Keep them from touching each other. This will stop them from sticking. Freeze the banana slices for at least 2 hours. You want them completely solid.
Blending the Mixture
After freezing, it's time to blend. Take the frozen bananas and put them in a food processor. Blend on high until they break down. This can take 2 to 5 minutes. Be patient. Stop to scrape down the sides if needed. When the mixture is creamy, add the other ingredients. Include the natural peanut butter, honey or maple syrup, vanilla extract, almond milk, and a pinch of sea salt. Blend again until smooth and velvety. Taste it and adjust sweetness if you want more.
Freezing for Perfect Texture
Once blended, transfer the mixture to a freezer-safe container. Use a spatula to smooth the top. This helps it look nice when frozen. Place the container in the freezer. Let it freeze for 1 to 2 hours. This step makes the ice cream scoopable. When ready, scoop into bowls. You can add chopped nuts or chocolate chips for a fun topping. Enjoy your creamy and rich treat!
Tips & Tricks
Achieving the Creamiest Consistency
To get the best creamy texture, use ripe bananas. Their natural sweetness and softness help blend smoothly. Freeze the banana slices in a single layer. This ensures even freezing and makes blending easier. Blend the frozen bananas for 2 to 5 minutes. Stop to scrape the sides to mix well. If you find the mixture too thick, add more almond milk to help.
Sweetness Adjustment Tips
Taste the mixture after blending. You can add honey or maple syrup for extra sweetness. Start with one tablespoon and mix well. If it’s not sweet enough, add more. Keep in mind, the bananas are sweet too. This way, you control the final flavor.
Equipment Recommendations
A good food processor is key. It should blend ingredients smoothly. If you don’t have a food processor, a high-powered blender works too. Use a spatula to help scrape down the sides. This ensures all the ingredients mix properly. Lastly, have a freezer-safe container ready for your ice cream. This helps keep it fresh and easy to scoop later.
Pro Tips
- Use Ripe Bananas: The riper the bananas, the sweeter and creamier your treat will be. Look for bananas with brown spots for optimal flavor.
- Experiment with Milk: Feel free to substitute almond milk with any milk of your choice, such as coconut milk or oat milk, to enhance flavors or cater to dietary needs.
- Storage Tips: Store any leftovers in an airtight container in the freezer. Just remember to let it sit at room temperature for a few minutes before scooping!
- Customize Your Toppings: Get creative with toppings! Try adding granola, berries, or even a drizzle of chocolate sauce for a gourmet touch.
Variations
Flavor Add-Ins
You can boost the taste of your Peanut Butter Banana Ice Cream. Try adding one of these flavors:
- Cocoa powder: Add 2 tablespoons for a chocolate twist.
- Cinnamon: Just 1 teaspoon can spice things up.
- Nutmeg: A pinch will add warmth and depth.
- Coffee: Mix in 1 tablespoon for a coffee kick.
These add-ins can change the whole vibe of your ice cream. Just blend them in with the other ingredients. Feel free to mix and match!
Dairy-Free and Vegan Options
To make this treat dairy-free or vegan, use almond milk or coconut milk. Both options give a creamy texture. You can also skip the honey or maple syrup for a completely vegan option. If you need more sweetness, try using agave syrup or a sugar substitute like stevia. This way, everyone can enjoy this delicious dessert.
Using Different Nuts or Spreads
Switching up the nut butter can change the flavor. Here are some ideas:
- Almond butter: This offers a mild, sweet taste.
- Cashew butter: It adds creaminess without being too strong.
- Sunflower seed butter: This is perfect for nut-free diets.
You can also mix in chopped nuts like walnuts or pecans for added crunch. Each choice brings a unique flavor to your ice cream. Experiment and find what you love best!
Storage Info
How to Store Leftovers
To keep your Peanut Butter Banana Ice Cream fresh, store it in an airtight container. Make sure the lid is on tightly. This helps prevent ice crystals from forming. You can keep it in the freezer for about one week. If you notice any changes in texture or flavor, it's best to toss it.
Freezing Tips for Best Texture
For the best texture, freeze your ice cream in a shallow container. This allows it to freeze evenly. If you want a scoopable treat, let it sit at room temperature for a few minutes before serving. You can also stir it every 30 minutes during the first hour of freezing. This helps create a creamier texture.
Sign of Spoilage
Check for any off smells or strange colors. If you see ice crystals forming, it’s still safe to eat, but it may not taste as good. Texture changes may happen over time. If it looks dry or icy, it's time to let it go. Trust your senses and enjoy your treat while it's fresh!
FAQs
Can I use ripe bananas that aren’t frozen?
Yes, you can use ripe bananas that aren’t frozen, but the ice cream will not be as creamy. Frozen bananas create a smooth, soft texture. If you use fresh bananas, the mix will be thicker. You can chill the fresh bananas in the fridge for a while. This helps, but it won’t give you that ice cream feel.
How long can I store Peanut Butter Banana Ice Cream?
You can store Peanut Butter Banana Ice Cream in the freezer for about one month. Keep it in an airtight container to avoid freezer burn. After a month, it may lose its creamy texture. If you notice ice crystals on top, that means it is time to toss it. Always check for off smells or changes in color before serving.
What if I don't have a food processor?
If you don’t have a food processor, you can use a blender. Just be careful not to overblend. You could also mash the frozen bananas with a fork or potato masher. This method takes more time and effort but can work in a pinch. If you have a hand mixer, that can help too, but the texture may vary.
This blog post covered how to make rich and creamy Peanut Butter Banana Ice Cream. We went over the right ingredients and optional sweeteners. We explored step-by-step instructions for prepping, blending, and freezing your mixture. Tips for the best texture and sweet adjustments helped refine your results. I also shared tasty variations and storage tips.
Enjoy experimenting with flavors and toppings to make it your own! This treat is easy and fun to customize. So grab those bananas and start creating!