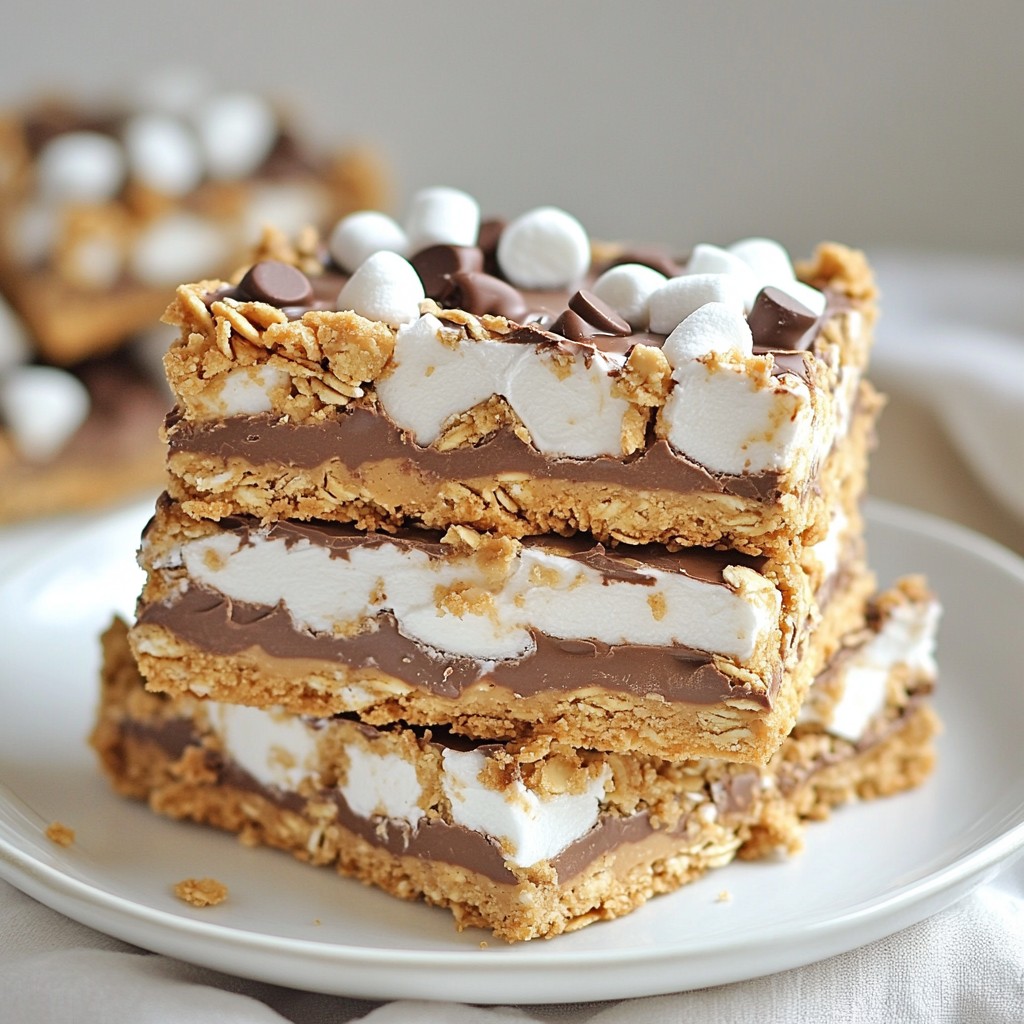
Are you ready for a sweet treat that combines peanut butter, chocolate, and marshmallows? These Peanut Butter S’mores Bars are a game-changer. They're easy to make and perfect for any gathering. With simple ingredients like graham crackers and cocoa powder, this recipe will satisfy your cravings. Join me as I guide you through the steps to create these irresistible bars that everyone will love!
Why I Love This Recipe
- Decadent Flavor: The combination of rich peanut butter, chocolate, and toasted marshmallows creates a heavenly flavor that is hard to resist.
- Easy to Make: With simple ingredients and straightforward steps, these bars can be whipped up in no time, making them perfect for a quick dessert.
- Perfect for Sharing: Cut into squares, these bars are ideal for parties, picnics, or family gatherings, allowing everyone to enjoy a sweet treat.
- Customizable: Feel free to swap ingredients based on dietary preferences, like using nut butter alternatives or different types of chocolate.
Ingredients
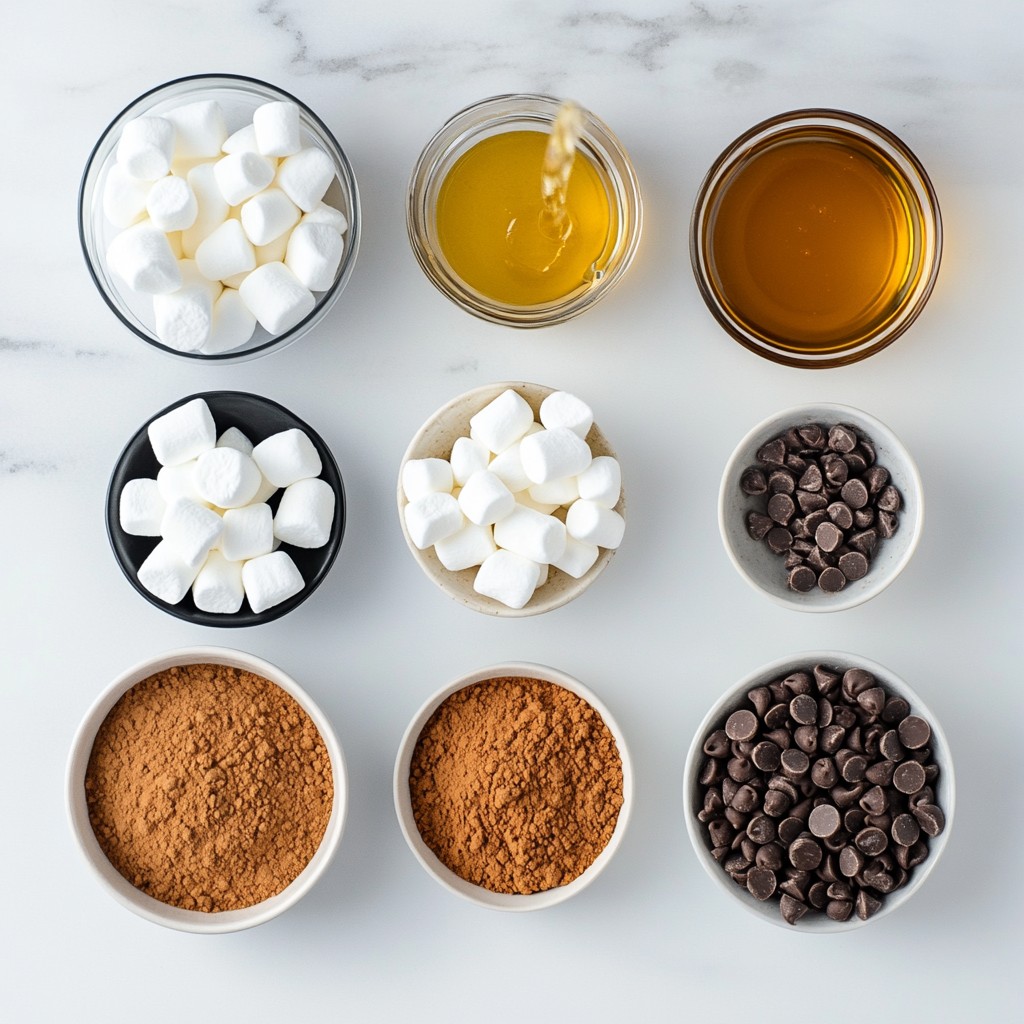
Key Ingredients List
- 1 cup graham cracker crumbs
- 1/2 cup unsweetened cocoa powder
- 1/2 cup creamy peanut butter
- 1/2 cup honey or maple syrup
- 1/4 cup melted coconut oil
- 1 cup mini marshmallows
- 1/2 cup chocolate chips
- A pinch of salt
The key ingredients in Peanut Butter S’mores Bars create a perfect balance. Each one plays an important role in flavor and texture. The graham cracker crumbs give a crunchy base. Cocoa powder adds rich chocolate flavor. Creamy peanut butter brings a nutty taste and smooth texture. Honey or maple syrup adds sweetness and moisture. Melted coconut oil helps bind the ingredients together. Mini marshmallows provide that classic s'mores feel. Chocolate chips add a delightful touch of chocolatey goodness. Finally, a pinch of salt enhances all the flavors.
Ingredient Substitutions
- Alternatives to peanut butter: You can use almond butter or sunbutter if you prefer. These options still give a creamy texture.
- Sweeteners: Honey and maple syrup are both great. Honey is sweeter, while maple syrup has a unique flavor.
- Options for cocoa powder: If you don’t have cocoa powder, try carob powder for a different taste.
Equipment Needed
- 8x8 inch baking dish
- Mixing bowls
- Parchment paper
You will need an 8x8 inch baking dish to hold the bars. Parchment paper makes it easy to lift the bars out. Mixing bowls are essential for combining dry and wet ingredients. Using the right tools makes the process simple and fun.
Step-by-Step Instructions
Prepping the Oven and Dish
- Preheat oven to 350°F (175°C).
- Line the baking dish with parchment paper.
Start by making your kitchen warm and cozy. Preheating the oven helps the bars cook evenly. The parchment paper will help you remove the bars easily later.
Mixing Dry Ingredients
- Combine graham cracker crumbs, cocoa powder, and salt.
In a large bowl, mix one cup of graham cracker crumbs, half a cup of cocoa powder, and a pinch of salt. This mix creates a tasty base for your bars.
Preparing Wet Ingredients
- Whisk together peanut butter, honey, and coconut oil.
In another bowl, take half a cup of creamy peanut butter, half a cup of honey or maple syrup, and a quarter cup of melted coconut oil. Whisk them together until it’s smooth. This will add sweetness and creaminess to your bars.
Combining Ingredients
- Mix dry and wet ingredients for the dough.
- Creating base and topping layers.
Pour the wet mix into the dry mix. Stir it all together until you have a thick dough. Take half of this dough and press it firmly into the bottom of your baking dish. This will be the base layer.
Next, spread one cup of mini marshmallows over this base. Then, sprinkle half a cup of chocolate chips on top. Crumble the rest of the dough over the marshmallows and chips to create the topping layer.
Baking Process
- Baking time and tips for doneness.
Place the baking dish in your preheated oven. Bake for 15 to 18 minutes. You’ll know they are ready when the marshmallows look puffy and the top feels set.
Cooling and Serving
- Cooling time in the fridge.
- Cutting the bars and serving suggestions.
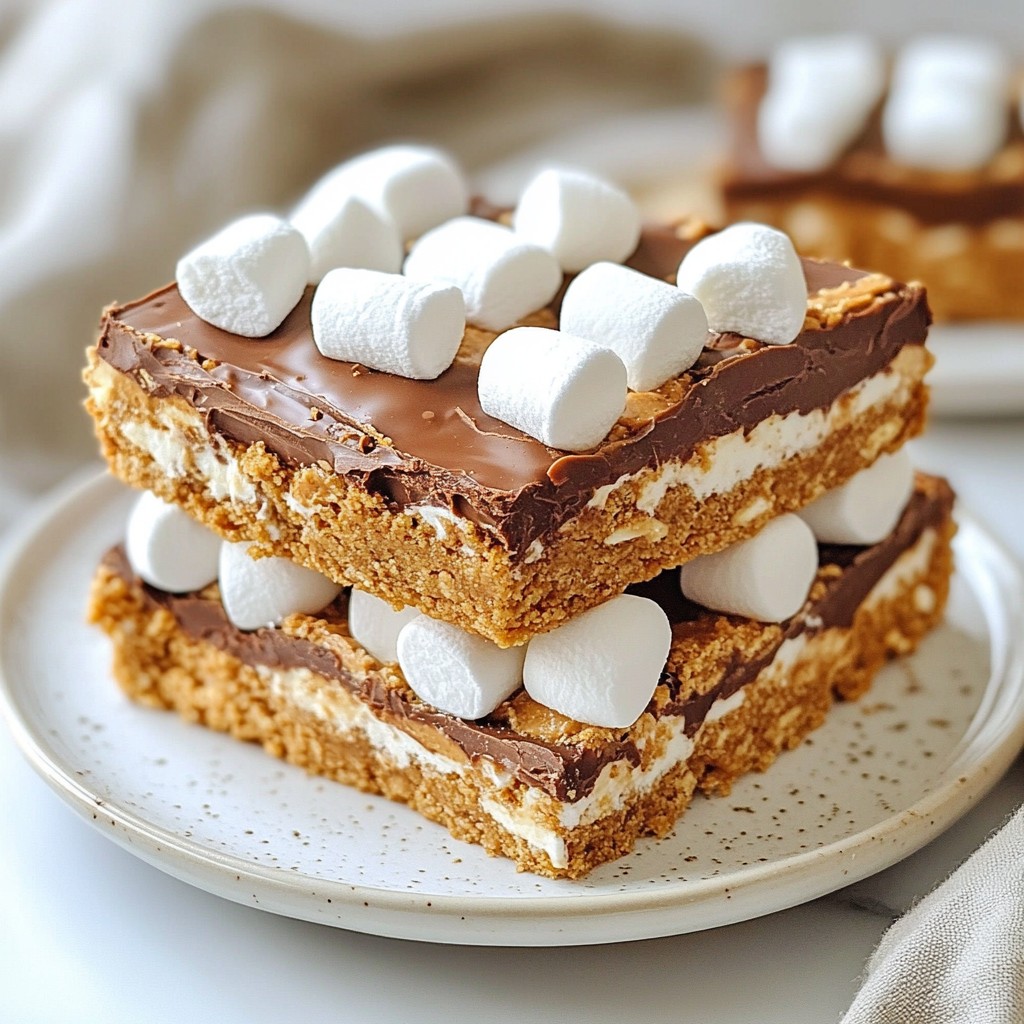
After baking, let the bars cool in the pan for about 30 minutes. Then, move them to the fridge for one hour to set fully. When ready, lift the bars out using the parchment. Cut them into 12 squares and serve. Enjoy them at room temperature or chilled. For a fun twist, stack them on a rustic board and add some extra marshmallows on top!
Tips & Tricks
How to Perfect Your Peanut Butter S’mores Bars
To make the best Peanut Butter S’mores Bars, avoid common mistakes. First, do not skip the parchment paper. It helps you lift the bars out easily. Check your oven temperature. An oven that is too hot can burn the top. Bake at 350°F for the right texture. Keep an eye on the bars during the last few minutes of baking. The marshmallows should puff up nicely but not burn.
Ensuring even baking is also key. Spread the mixture evenly in the baking dish. Press it down firmly for a solid base. Use a spatula to even out the top layer. This will help the bars cook through evenly.
Presentation Ideas
To make your bars look great, stack them on a rustic wooden board. This adds a nice touch. You can garnish with extra mini marshmallows. Drizzle melted chocolate on top for a fun finish. Arrange them nicely to catch everyone's eye.
For parties, cut the bars into smaller squares. This way, guests can enjoy a bite without feeling too full. Serve them on colorful plates or with fun napkins for added flair.
Making Ahead
You can prepare Peanut Butter S’mores Bars in advance. Make them a day before your event. Just follow the recipe and let them cool. Store them in the fridge for the best taste. They will stay fresh and tasty. This saves you time and stress on the day of your gathering. Just cut and serve them when you are ready.
Pro Tips
- Chill the Bars: For cleaner cuts, refrigerate the bars for a full hour before slicing. This will help them hold their shape better.
- Customize Your Toppings: Feel free to switch up the chocolate chips with peanut butter chips or add nuts for extra crunch and flavor.
- Experiment with Sweeteners: Depending on your preference, try using different sweeteners like agave syrup or brown rice syrup for a unique twist.
- Monitor Baking Time: Keep an eye on the bars as they bake; the perfect moment is when the marshmallows are golden and the top layer looks set.
Variations
Flavor Variations
You can easily change the taste of your Peanut Butter S’mores Bars. Adding nuts or seeds can give a nice crunch. Try walnuts or sunflower seeds for some extra texture. You can also use different types of chocolate. Milk chocolate brings sweetness, while dark chocolate adds richness. Mix and match to find your perfect flavor.
Dietary Substitutions
If you need a gluten-free option, swap the graham crackers with gluten-free crackers. This small change keeps your bars tasty and safe for those with gluten issues. For vegan-friendly options, use maple syrup instead of honey. You can also pick a plant-based chocolate to keep it all vegan.
Seasonal Add-ins
Make your bars fit the season! In fall, add a sprinkle of pumpkin spice. It gives a warm, cozy flavor that’s perfect for autumn. In summer, try adding fresh fruit like raspberries or strawberries. The fruit adds a burst of flavor and freshness that brightens your bars.
Storage Info
Best Storage Practices
You can store Peanut Butter S’mores Bars in different ways. If you want them fresh, keep them in the fridge. The cold helps them stay firm and tasty. You can also store them at room temperature. Just keep them in an airtight container. This keeps them soft and chewy.
Shelf Life
Peanut Butter S’mores Bars last about one week. They stay fresh for five days at room temperature. If you put them in the fridge, they last up to ten days. Make sure to check for any changes in smell or texture. This way, you know they are still good to eat.
Freezing Tips
Freezing is a great option too! Wrap the bars tightly in plastic wrap. Then, put them in a freezer bag. They can last up to three months in the freezer. When you want to eat them, just take them out. Let them thaw in the fridge overnight. This keeps their taste and texture just right.
FAQs
Can I make Peanut Butter S’mores Bars look more appealing?
Yes, you can! A simple way to make these bars pop is by stacking them on a rustic wooden board. Add some extra mini marshmallows on top for a fun touch. Drizzle melted chocolate over the bars to enhance the look. This creates a beautiful contrast and makes the treat look even more tempting.
Can I use natural peanut butter?
Absolutely! You can use natural peanut butter in this recipe. Natural peanut butter has a different texture. It may be more runny than creamy peanut butter. If you choose natural peanut butter, stir it well to mix the oils. This helps achieve a consistent blend with the other wet ingredients.
What can I substitute for cocoa powder?
If you don't have cocoa powder, you can use carob powder. Carob powder gives a similar chocolate flavor. You can also try using melted dark chocolate or chocolate syrup. Just remember to adjust the sweetness when making substitutions.
How do I know if the bars are done baking?
You will know the bars are ready when the marshmallows puff up. Look for a golden brown color on top. Also, the surface should feel set to the touch. If it still feels soft, give it a few more minutes in the oven. Let them cool properly for the best texture and flavor.
You now have all the steps to make delicious Peanut Butter S’mores Bars. We covered key ingredients, substitutions, equipment, and baking instructions. We also explored tips for perfecting your bars and creative variations to try.
These bars are easy to make and great for any event. Enjoy them fresh or save some for later. I hope you feel inspired to create your own tasty treats!