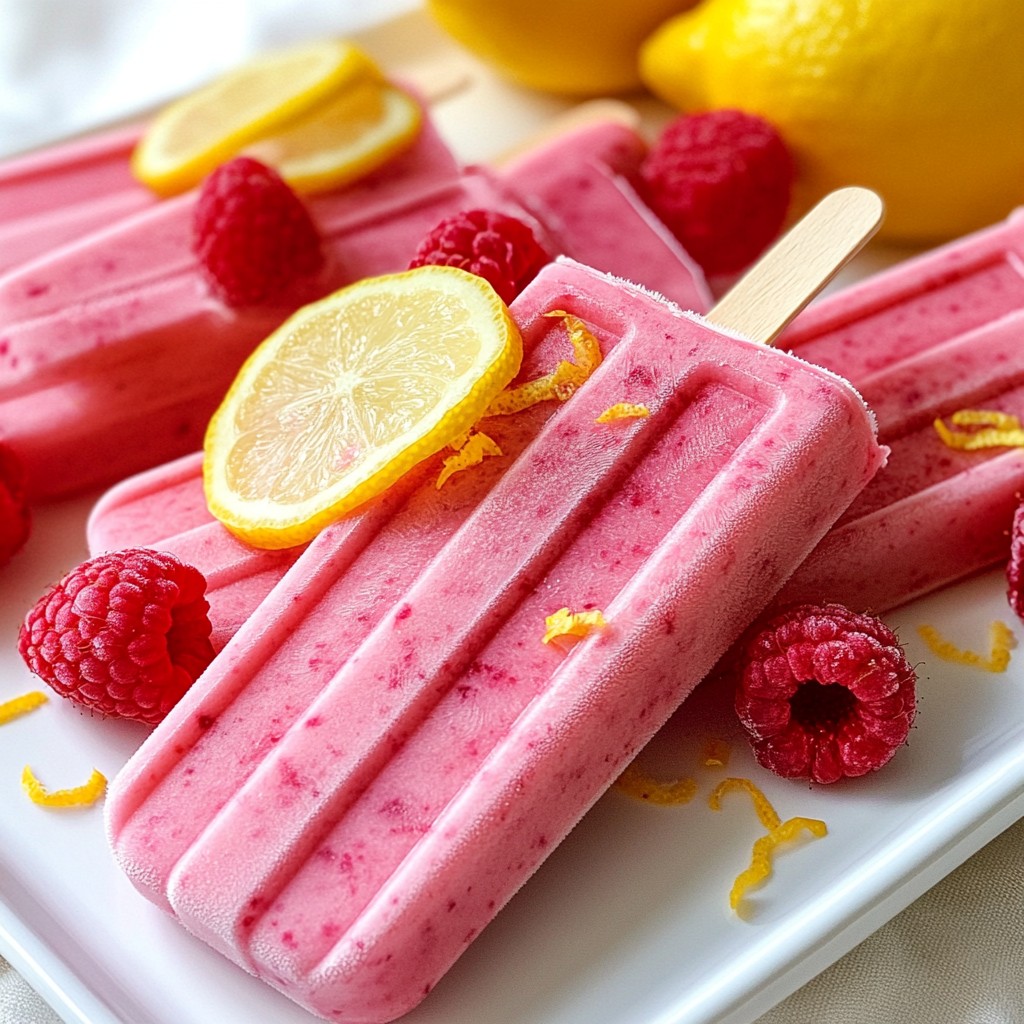
Nothing says summer like a sweet, tangy Raspberry Lemonade Popsicle! Imagine biting into a cold treat that bursts with refreshing flavor. I’ll share everything you need, from simple ingredients to fun variations. These popsicles are easy to make and perfect for hot days. Ready to impress your friends and family? Let’s dive into creating this delicious summer treat that everyone will love!
Why I Love This Recipe
- Refreshing Flavor: The combination of tangy lemon and sweet raspberries creates a delightful and refreshing taste that’s perfect for hot summer days.
- Easy to Make: This recipe comes together quickly with minimal effort, making it accessible for anyone to whip up a batch of delicious popsicles.
- Customizable Sweetness: Adjust the sweetness to your preference by varying the amount of honey or agave syrup, allowing for a personalized treat.
- Beautiful Presentation: The vibrant color of the raspberry lemonade popsicles, especially with added whole raspberries, makes them visually stunning and perfect for gatherings.
Ingredients
List of Ingredients for Raspberry Lemonade Popsicles
To make these tasty popsicles, you need:
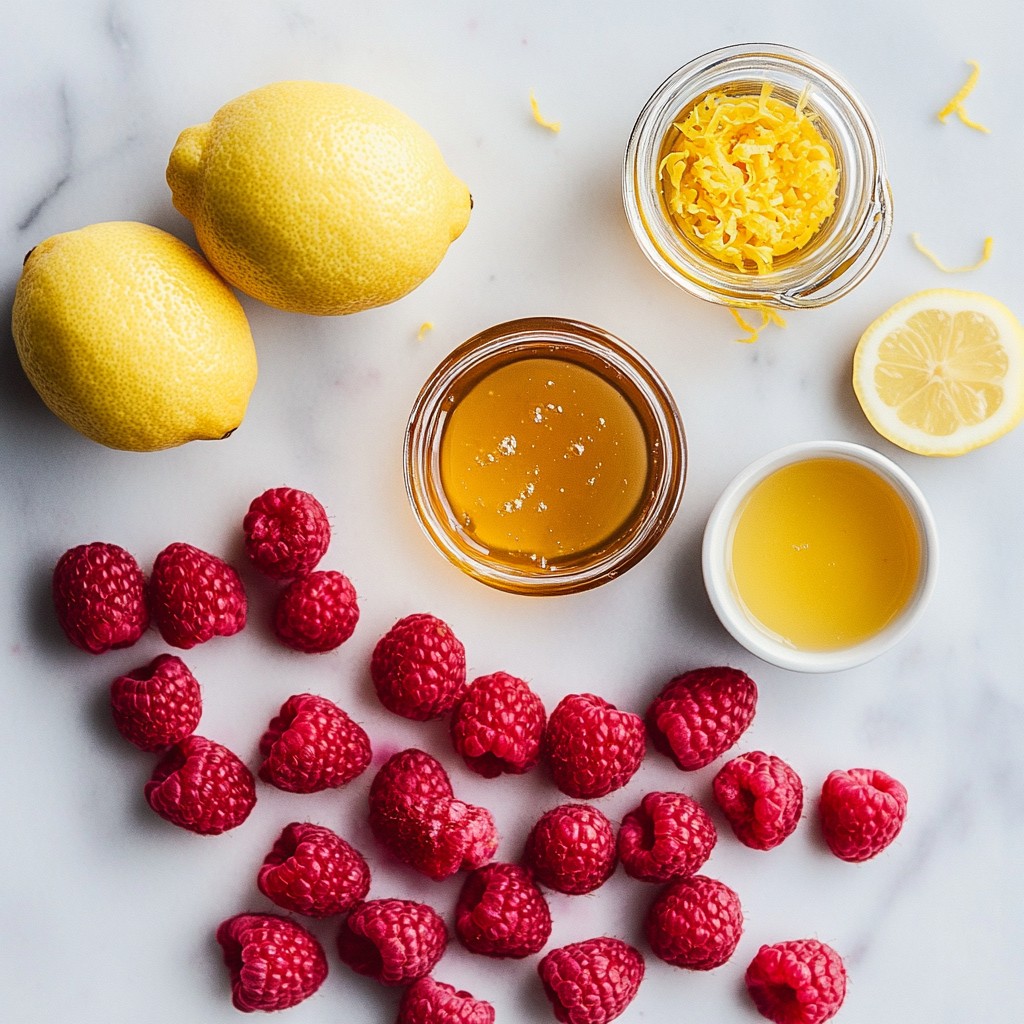
- 2 cups fresh raspberries (plus extras for garnish)
- 1 cup freshly squeezed lemon juice (about 4-6 medium lemons)
- 1/2 cup honey or agave syrup (adjust to your taste)
- 2 cups cool water
- Zest of 1 lemon
These ingredients work together to create a sweet and tangy treat. The raspberries give a bright color and flavor. Fresh lemon juice adds a nice zing, while honey or agave sweetens the mix. Water helps to make the popsicles smooth and easy to freeze.
Optional Ingredients for Enhancing Flavor
You can try some extra ingredients to boost flavor:
- Mint leaves for a fresh twist
- A splash of vanilla extract for warmth
- A pinch of salt to enhance sweetness
Adding mint gives a refreshing hint. Vanilla adds depth, while salt balances the sweet and tart notes. Feel free to experiment and find your favorite mix!
Sweetness Adjustment Tips
If you want to change the sweetness, here are some tips:
- Start with less honey or agave and taste the mix.
- Add a little more if you like it sweeter.
- Try using different sweeteners like maple syrup or stevia.
Taste is key! Make sure the mix is just right for you. Adjust until you find your perfect balance.
Step-by-Step Instructions
Detailed Preparation Process
Start by gathering your ingredients. You need fresh raspberries, lemon juice, honey, water, and lemon zest. In a blender, add the raspberries, lemon juice, honey, and cool water. Blend this mix until it is smooth. This step gives your popsicles that yummy raspberry flavor.
Tips for Blending and Straining
To make your popsicles super smooth, strain the mixture. Use a fine-mesh sieve and pour the blend into a bowl. This removes seeds and pulp, giving you a nice texture. It helps the popsicles feel creamier and more enjoyable to eat.
Pouring and Freezing Instructions
Now, stir in the lemon zest for more flavor. Carefully pour the mixture into your popsicle molds. Fill them almost to the top but leave a little space. This space helps the popsicles expand as they freeze. For a fun touch, add a few whole raspberries into each mold.
Next, insert wooden sticks into the center of each mold. Make sure they are secure. Freeze your popsicles for 4-6 hours, or until they are completely solid. When they are ready, run warm water over the molds to help release the popsicles. Gently pull on the sticks to enjoy your refreshing treat!
Tips & Tricks
Achieving the Perfect Texture
To make the best raspberry lemonade popsicles, start with fresh ingredients. Blend the raspberries and lemon juice until smooth. For a silky texture, strain the mix. This removes seeds and pulp. You want pure, fruity goodness. Adding lemon zest boosts flavor. It gives a bright, zesty kick. Remember to adjust sweetness based on your taste. Honey or agave syrup works well.
Presentation Tips for Serving
When it’s time to serve, make it pretty! Place the popsicles on a colorful platter. Garnish with fresh raspberries and thin lemon slices. This adds color and charm. You can also serve with a cup of lemonade. This will make your popsicles even more refreshing. Your guests will love the look and flavor!
Best Practices for Molding and Removal
Filling the molds is key. Leave a small gap at the top. This space helps the popsicles expand as they freeze. After freezing for 4-6 hours, it’s time to remove them. Run warm water over the molds for a few seconds. This helps loosen the popsicles. Gently pull on the sticks to release them. If they stick, don’t force them. Be patient; they will come out!
Pro Tips
- Use Frozen Raspberries: If fresh raspberries are out of season, frozen ones work just as well. They can also give your popsicles a creamier texture when blended.
- Adjust Sweetness: Taste the mixture before freezing and adjust the sweetness to your liking. Some may prefer a more tart taste, while others might enjoy it sweeter.
- Experiment with Mix-Ins: Feel free to add other fruits like strawberries or blackberries to the mixture for a unique flavor twist. Just blend them in with the raspberries!
- Storage Tips: Once frozen, store popsicles in an airtight container to prevent freezer burn and keep them fresh for longer.
Variations
Alternative Sweeteners and Flavor Mix-Ins
You can change the sweetener to fit your taste. Try maple syrup or stevia. Each sweetener gives a unique twist. Adjust the amount based on how sweet you want it. You can also mix in herbs. Fresh mint or basil adds a cool flavor. This gives the popsicles a fun, fresh touch.
Using Different Fruits for Popsicle Bases
Raspberries are great, but other fruits work well too. Think strawberries, blueberries, or peaches. Each fruit gives a different taste and color. You can also blend fruits together. For example, mix strawberries and lemons for a bright flavor. Just follow the same blending steps.
Fun Garnish Ideas and Serving Suggestions
Presentation makes these popsicles even more special. Add whole raspberries or lemon slices on top. You can also sprinkle some mint leaves for color. Serve them on a bright platter. For a party, use fun sticks. Shaped like animals or flowers can excite kids. Enjoy making your popsicles look as good as they taste!
Storage Info
How to Properly Store Raspberry Lemonade Popsicles
Store your Raspberry Lemonade Popsicles in an airtight container. This keeps them fresh. If you leave them in the mold, wrap it in plastic wrap. This helps prevent freezer burn. Label the container with the date. This way, you know when you made them.
Shelf Life and Freezing Tips
These popsicles stay good for about 2 to 3 months. After that, they may lose flavor and texture. To enjoy them later, keep the freezer at 0°F (-18°C). Avoid opening the door too much. This stops the temperature from rising and keeps your popsicles firm.
Reusing Popsicle Molds for Future Recipes
You can reuse your popsicle molds easily. Just wash them with warm, soapy water. Rinse well and let them dry. Next time, try new flavors! Mix fruits like strawberries or mangoes. You can also add yogurt for a creamy twist. Reusing molds saves money and creates fun treats!
FAQs
Can I make these popsicles with frozen raspberries?
Yes, you can use frozen raspberries! Just blend them straight from the freezer. They will add a nice chill to your popsicles. The taste will still be great, but fresh raspberries give a brighter flavor. If you use frozen raspberries, you may need to adjust the sweetness. Taste before you pour the mixture into molds.
How can I make these popsicles without honey or agave?
You can swap honey or agave with other sweeteners. Try using maple syrup or coconut sugar. You could also use a sugar substitute like stevia or erythritol. Just remember to adjust the amount, as these sweeteners can be sweeter or less sweet than honey. Make sure to taste the mixture before you freeze it!
What if my popsicles are hard to remove from the molds?
If your popsicles are tough to pull out, don’t worry. Just run warm water over the outside of the molds for a few seconds. This warms the sides and helps loosen the popsicles. After that, gently pull on the sticks. If they still resist, try twisting the molds a little. This should help them come out smoothly!
This blog post covered how to make delicious raspberry lemonade popsicles. We discussed the ingredients, preparation steps, and helpful tips. You can adjust sweetness or use different fruits for fun variations. Proper storage keeps your popsicles fresh, and I answered common questions to help you succeed.
Try these yummy treats this summer. They are easy to make and fun to share. Enjoy your popsicle-making journey!