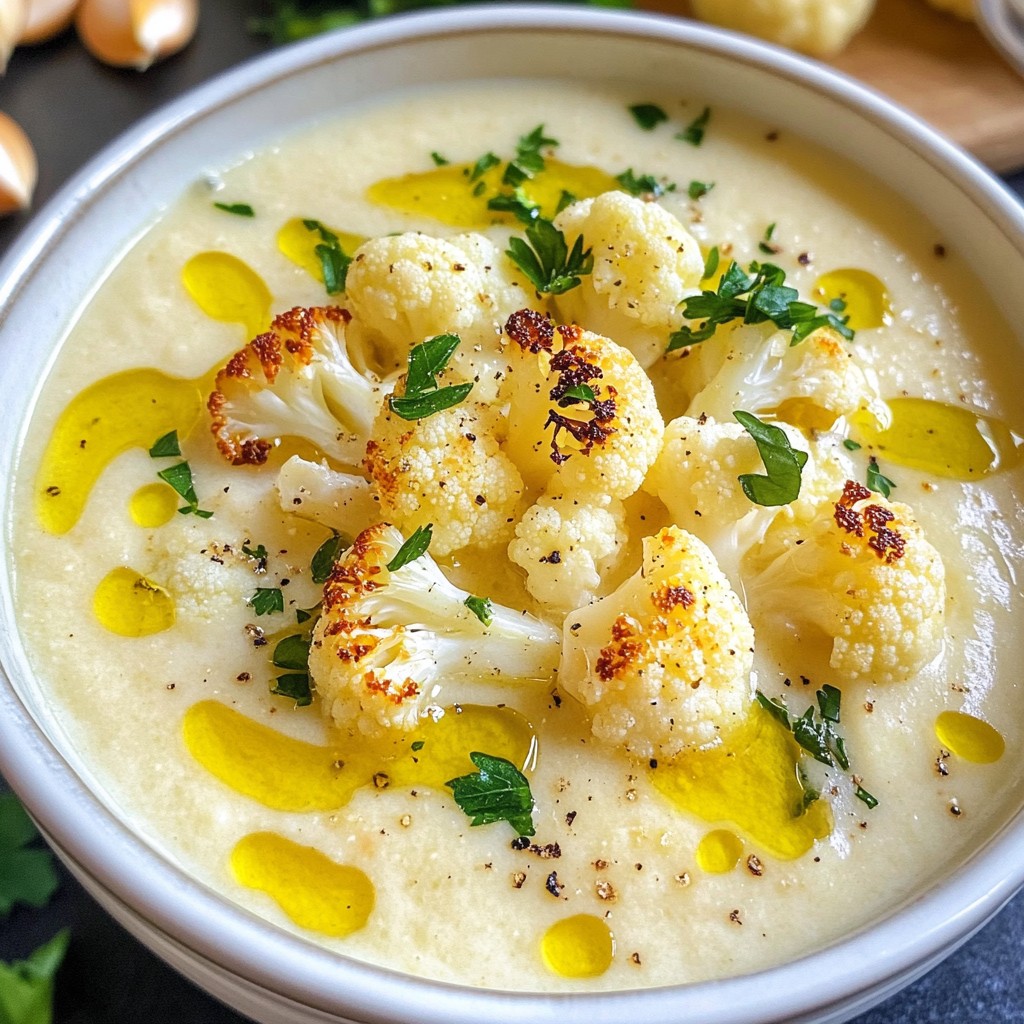
If you're looking for a new, comforting dish, you've found it! My Roasted Garlic Cauliflower Soup is creamy, savory, and full of flavor. With just a few simple ingredients, you can create a healthy meal that's perfect for any day. I'll guide you step-by-step, from roasting garlic to blending the perfect texture. Get ready to warm up with this delicious soup that will delight your taste buds!
Why I Love This Recipe
- Deliciously Creamy: This soup offers a rich and velvety texture that makes each spoonful comforting and satisfying.
- Roasted Garlic Goodness: The roasted garlic adds a deep, sweet flavor that elevates the overall taste of the soup.
- Health Benefits: Cauliflower is packed with nutrients and fiber, making this soup not only tasty but also nutritious.
- Easy to Make: This recipe is straightforward, requiring minimal prep and cooking time for a delicious homemade soup.
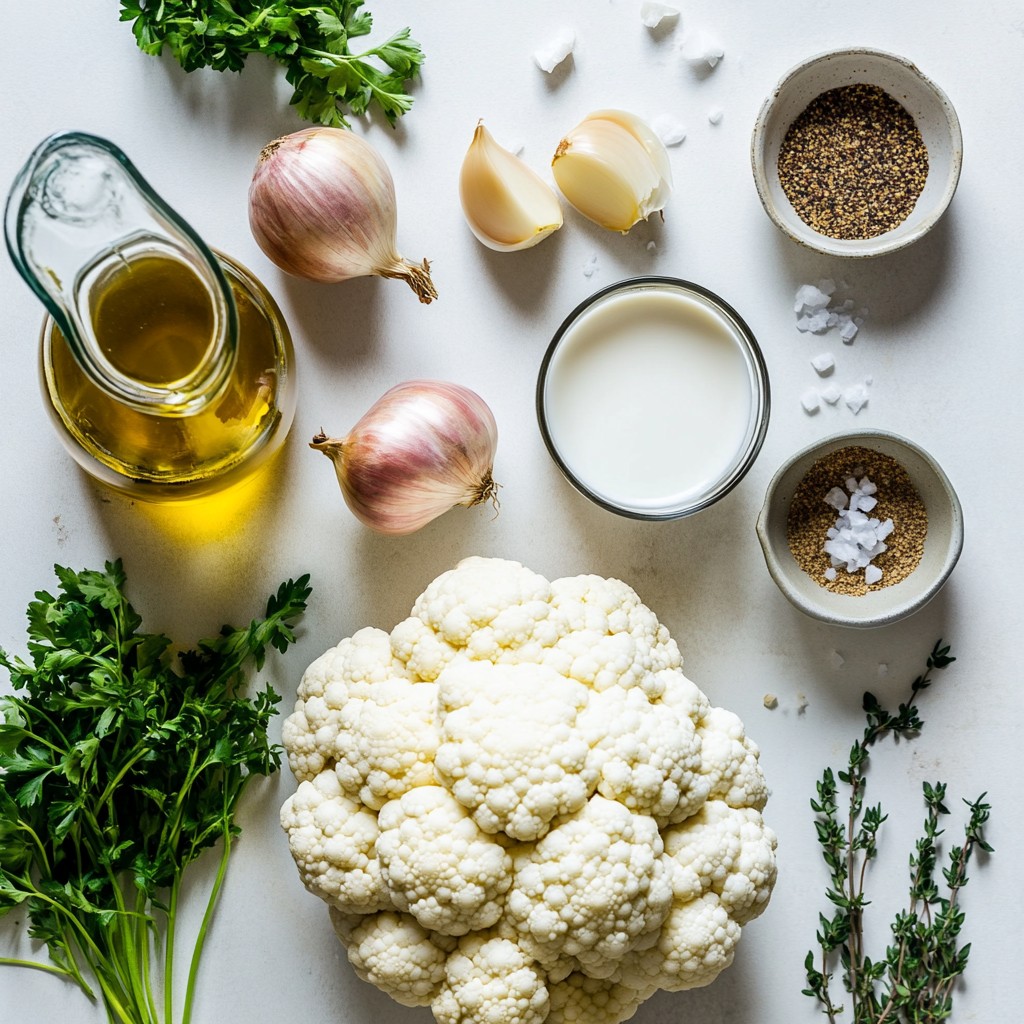
Ingredients
Main Ingredients
- 1 large head of cauliflower, cut into bite-sized florets
- 8 cloves of garlic, unpeeled
- 1 tablespoon olive oil (plus extra for drizzling)
- 1 medium onion, finely chopped
- 4 cups vegetable broth (preferably low sodium)
Optional Ingredients
- 1 cup coconut milk (or any milk of choice for a creamier texture)
- 1 teaspoon ground cumin for a hint of warmth
- 1 teaspoon dried thyme (or 1 tablespoon fresh thyme, chopped)
- Salt and freshly ground black pepper to taste
Garnishing Options
- Fresh parsley, chopped, for garnish
- Additional olive oil for drizzling
Gather these items to create a creamy and savory soup. Fresh cauliflower gives a sweet flavor. Roasted garlic adds depth. The olive oil helps everything roast nicely. Onion adds a soft sweetness. Vegetable broth brings it all together.
You can use coconut milk for a richer soup. Ground cumin adds warmth and character. Thyme gives a nice herbal touch. Always taste and adjust salt and pepper to your liking.
For garnish, fresh parsley adds color and brightness. A drizzle of olive oil on top makes each bowl inviting. Embrace your creativity with these ingredients for a delightful dish.
Step-by-Step Instructions
Prepping the Cauliflower and Garlic
- Preheat your oven to 400°F (200°C). This step is key for great roasting.
- In a large baking dish, place the cauliflower florets and unpeeled garlic. Drizzle with 1 tablespoon of olive oil. Add a good amount of salt and pepper. Toss to coat well.
- Roast this mix in the oven for 25-30 minutes. Stir once halfway through. Look for tender, lightly caramelized cauliflower.
Sautéing the Onions
- Heat a splash of olive oil in a large pot over medium heat.
- Add in the finely chopped onion. Stir often. Cook until the onion is soft and clear. This should take about 5 minutes.
Blending and Finalizing the Soup
- Once the cauliflower and garlic cool, squeeze the roasted garlic out of its skins. Add it to the pot with the onions.
- Next, add the roasted cauliflower, vegetable broth, ground cumin, and thyme. Stir this all together. Bring it to a gentle boil.
- After boiling, lower the heat and let it simmer for around 10 minutes. This helps the flavors mix well.
- Take the pot off the heat. Use an immersion blender to blend the soup until smooth. If you do not have one, pour it in a countertop blender in small batches. Make sure to let steam escape.
- Stir in the coconut milk to add creaminess. Season with more salt and pepper if needed. Return the pot to low heat to warm it up gently.
Tips & Tricks
Perfecting the Roast
To make great roasted garlic cauliflower soup, you must ensure even roasting. Spread the cauliflower and garlic in one layer on your baking dish. This step helps them cook nicely. Stir halfway through roasting to promote browning.
To enhance flavors, use high-quality olive oil. The oil adds richness and depth. Try adding a pinch of smoked paprika before roasting. It brings a lovely warmth to the dish.
Blending for Creaminess
When blending, I prefer an immersion blender. It allows you to blend right in the pot. This method saves time and reduces mess. If you use a countertop blender, do it in small batches. Always allow steam to escape. This way, you avoid hot splashes.
For a smooth texture, blend until fully creamy. You want no chunks left. After blending, stir in coconut milk. This step adds a velvety finish.
Adjusting Seasoning
Tasting as you cook is key. Start with a small pinch of salt and pepper. After blending, taste again and adjust. Remember, seasoning brings out the flavors. Add more salt or pepper as needed.
If the soup feels flat, consider adding a splash of lemon juice. This tip brightens the overall taste. Balancing flavors makes the dish shine, making every bite delightful.
Pro Tips
- Roasting Garlic: Roasting garlic until it becomes soft and caramelized enhances its natural sweetness, making your soup more flavorful. Don’t skip this step!
- Blend for Creaminess: Using an immersion blender allows you to achieve a smooth and creamy texture without the hassle of transferring hot soup to a blender.
- Choosing Broth: Opt for low-sodium vegetable broth to control the saltiness of your soup, allowing the flavors of the garlic and cauliflower to shine through.
- Garnishing: For a delightful touch, use a drizzle of olive oil and a sprinkle of fresh herbs like parsley or thyme on top just before serving.
Variations
Adding Proteins
You can make this soup heartier by adding proteins. Chicken works well when cooked and shredded. Just toss it in after blending the soup. Tofu is another great option. Simply cube it, pan-fry until golden, and mix it in for a tasty vegan choice.
Different Dairy Options
If you want a different flavor, try using almond or oat milk instead of coconut milk. They both add a nice creaminess. For those who enjoy dairy, whole milk or cream can give a rich taste. Remember, each choice changes the soup's texture and flavor.
Flavor Enhancements
To spice things up, consider adding a pinch of chili powder or smoked paprika. These spices add warmth and depth. Fresh herbs like rosemary or thyme can also boost the flavor. Just chop them finely and stir them in before blending the soup.
Storage Info
Short-Term Storage
Let the soup cool to room temperature before storing. Pour it into an airtight container. Seal the container tightly. You can store it in the fridge for up to 4 days. This keeps the flavors fresh.
Freezing Tips
For longer storage, freeze the soup. Pour the cooled soup into freezer-safe bags or containers. Leave some space for expansion. Label the bags with the date. You can freeze it for up to 3 months.
To thaw, move the soup to the fridge overnight. If you're in a hurry, place it in a bowl of cold water. Change the water every 30 minutes until thawed.
Reheating Guidelines
When you’re ready to enjoy the soup, reheat it slowly. You can use a pot on the stove. Stir it often to heat evenly. If you prefer, use a microwave. Heat in short bursts, stirring in between. This keeps the soup creamy and delicious.
FAQs
What can I use instead of coconut milk?
You can use several options to keep your soup creamy. Here are a few ideas:
- Heavy cream for a rich taste
- Almond milk for a nutty flavor
- Oat milk for a mild sweetness
- Soy milk for a protein boost
Each choice brings its own flavor and texture. Choose based on your taste and what you have on hand.
How long does Roasted Garlic Cauliflower Soup last in the fridge?
This soup lasts up to five days in the fridge when stored properly. Keep it in an airtight container to keep it fresh. If you notice any changes in smell or color, it's best to toss it.
Can I make this soup ahead of time?
Yes! This soup is perfect for meal prep. You can make it one to two days ahead. Just store it in the fridge until you are ready to heat it. Reheat in a pot over low heat, stirring gently until warm. If it thickens, add a splash of broth or water to thin it out.
In this post, we explored how to make roasted garlic cauliflower soup. We covered key ingredients, cooking steps, and tips for creating the best flavor. You learned about optional additions and garnishing ideas to elevate your dish. Remember, adjusting seasoning and personal touches can make this soup your own. Enjoy experimenting with the recipe and sharing it with friends. Eating well can be simple and fun! Now grab your ingredients and get cooking. You’re on your way to a delicious meal.